型を作っておこうかなと思い。
まずはチュートリアルをやってみます!
https://developer.apple.com/tutorials/swiftui/
4時間25分らしいです!頑張りましょう!
SwiftUI essentials Creating and combining views

swiftUIの必需品!ビューを作るぞー
section 1 ハローワールドだ!
App作成!
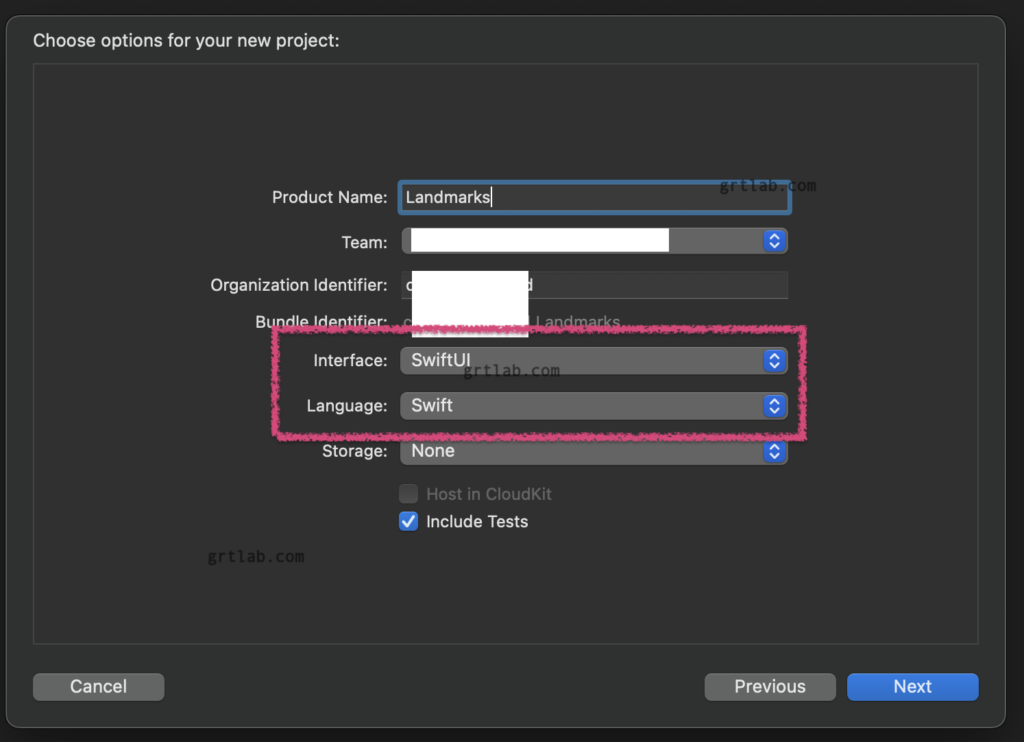
Interface : SwiftUI
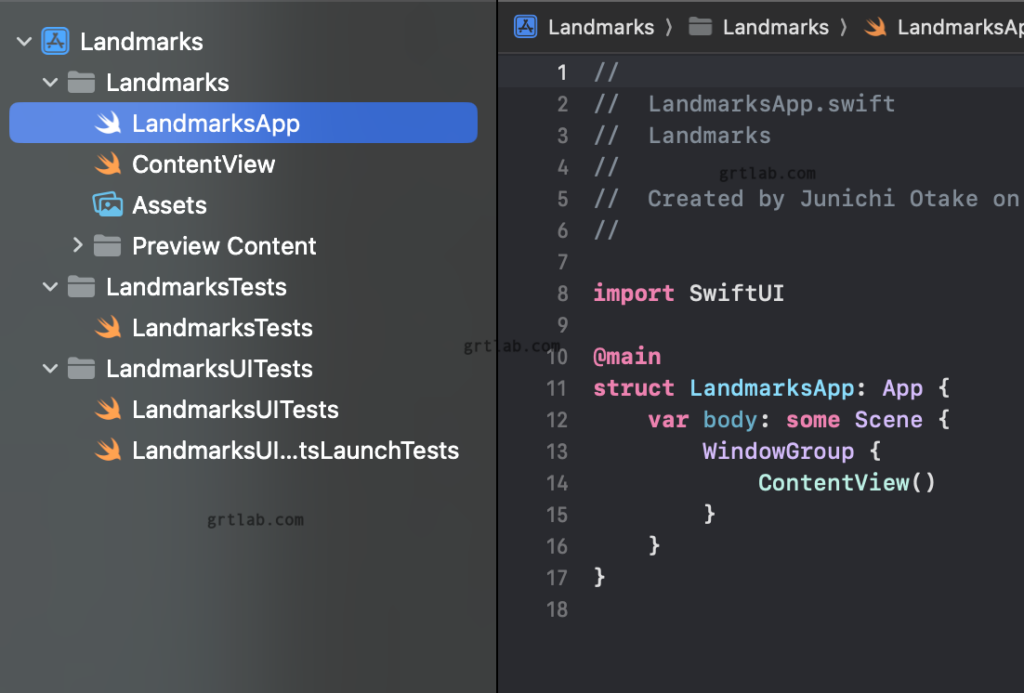
LandmarksAppを選択すると
@mainがあってここから開始って感じですね
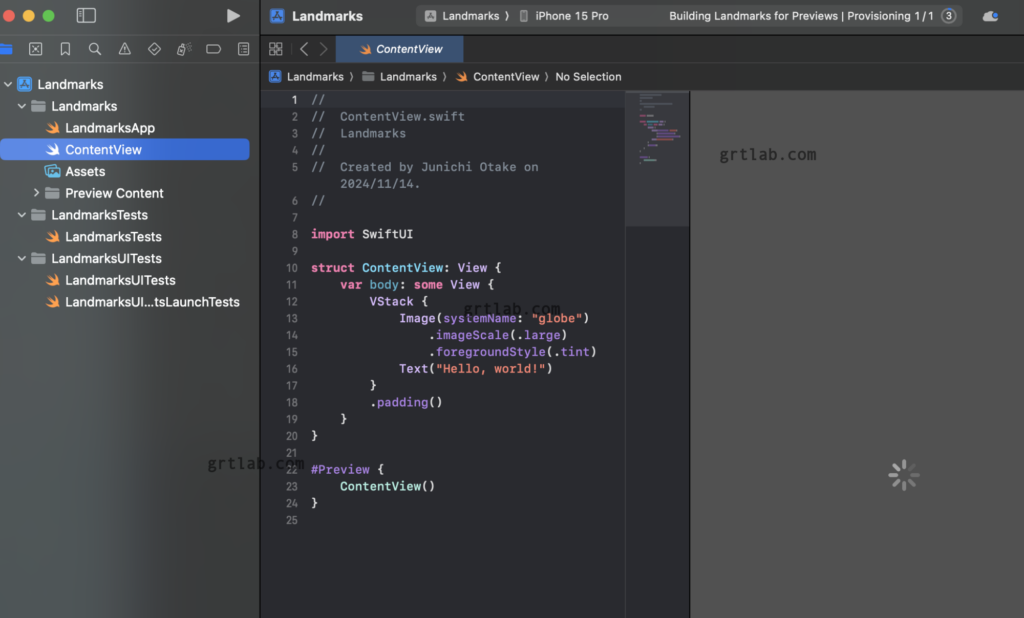
ContentViewを見ると Building … が結構長いです.
ただ開いただけ Prepareing iPhone Simulatorも時間かかる
5分位くらい待っているような?
プレビュー出ました
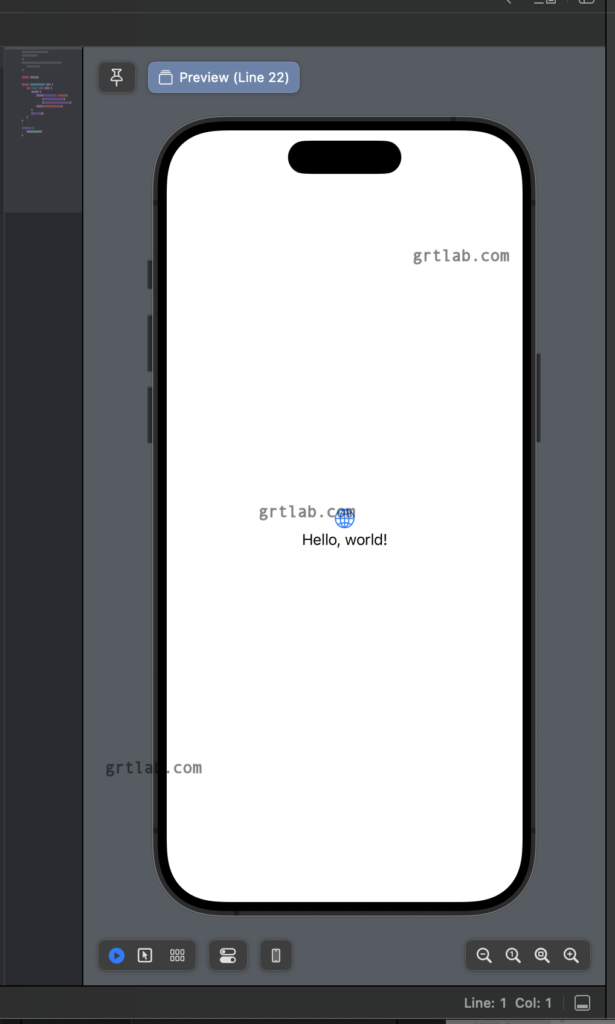
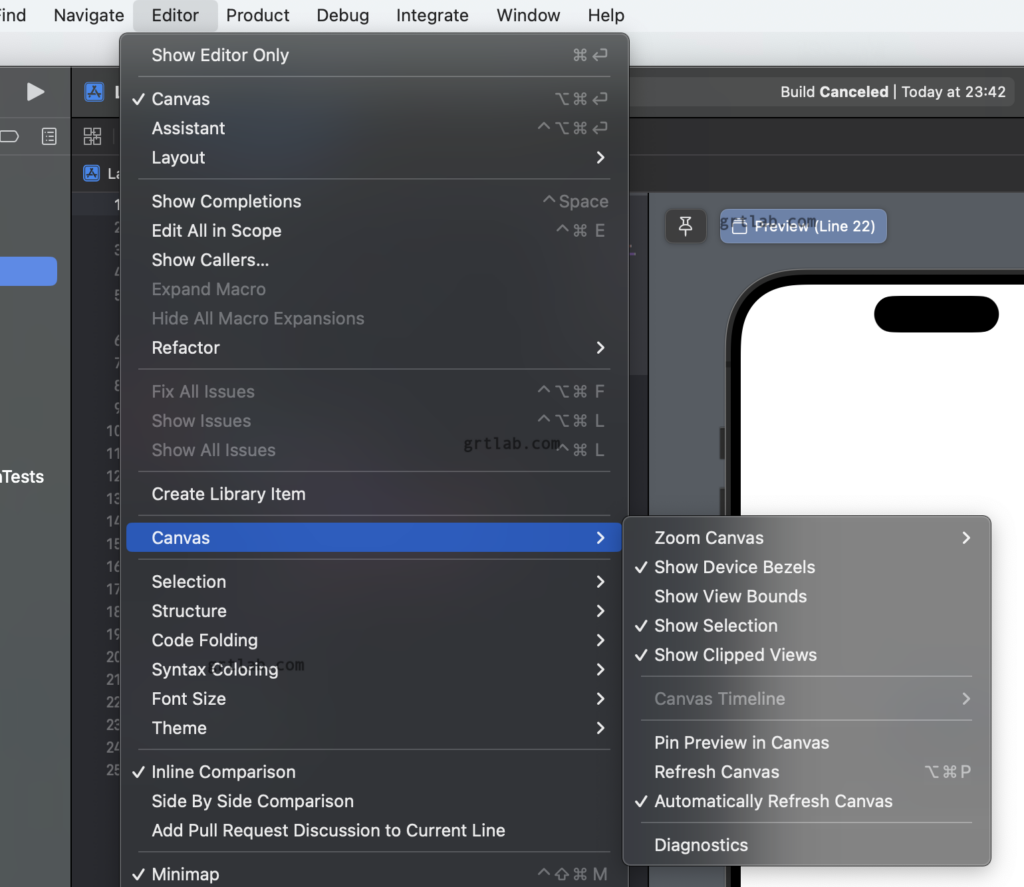
Editor > Canvas で表示方法選択できるようです
Automatically Refresh Canvasになっているので自動で表示できるようです
消しておくことも
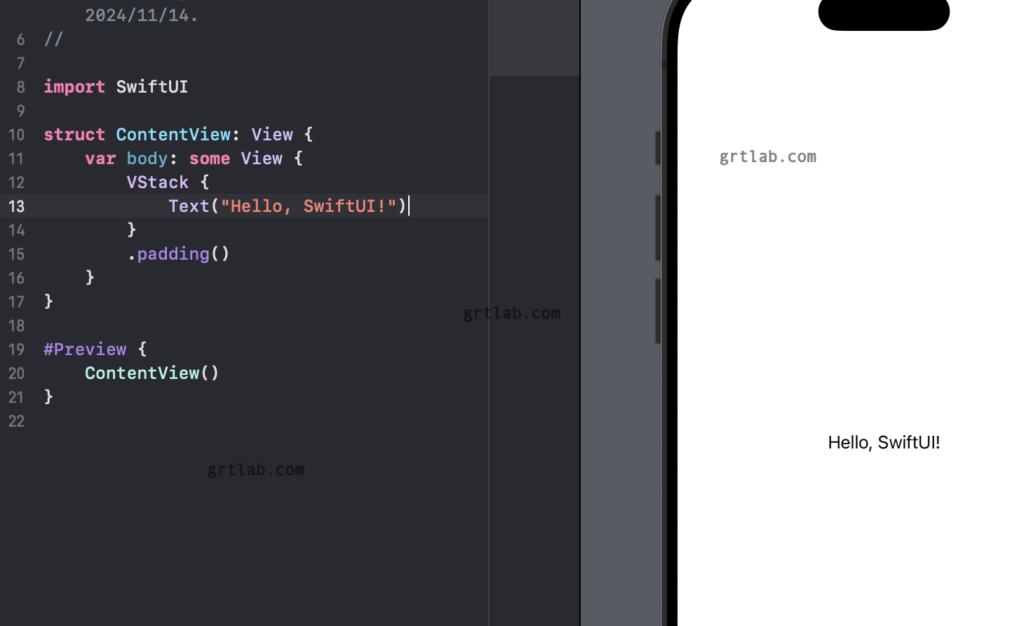
Textの中を変えると反映されました。
Section 2 Text View をカスタマイズ
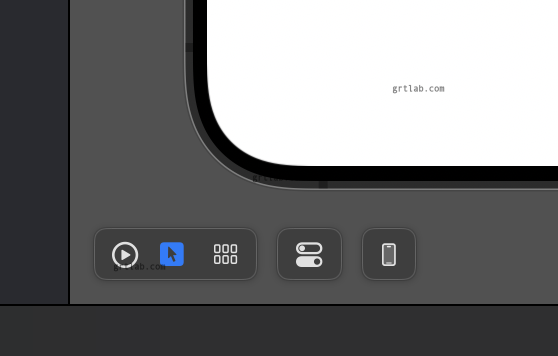
プレビューの左下
左から
Live / Selectable
でSelectableを選択するとテキストをクリックで選択できました。
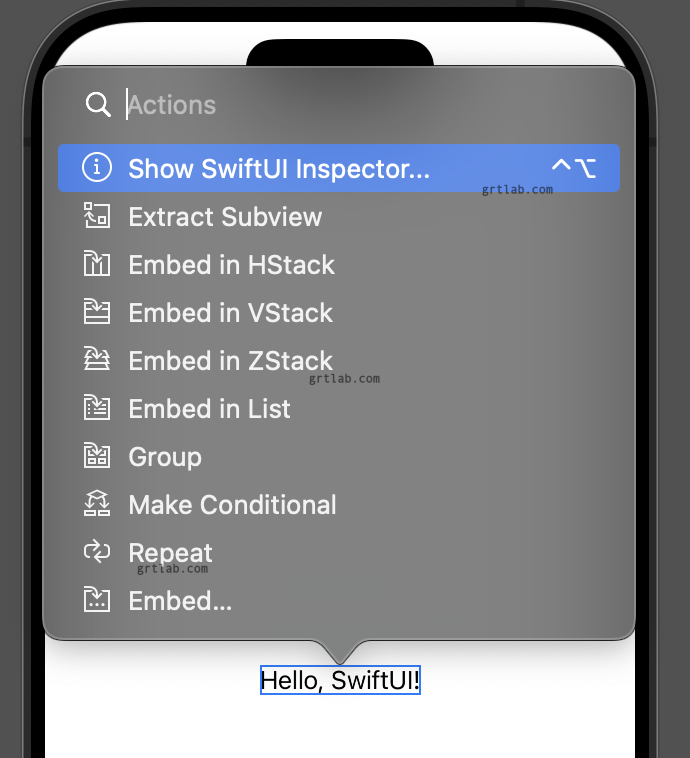
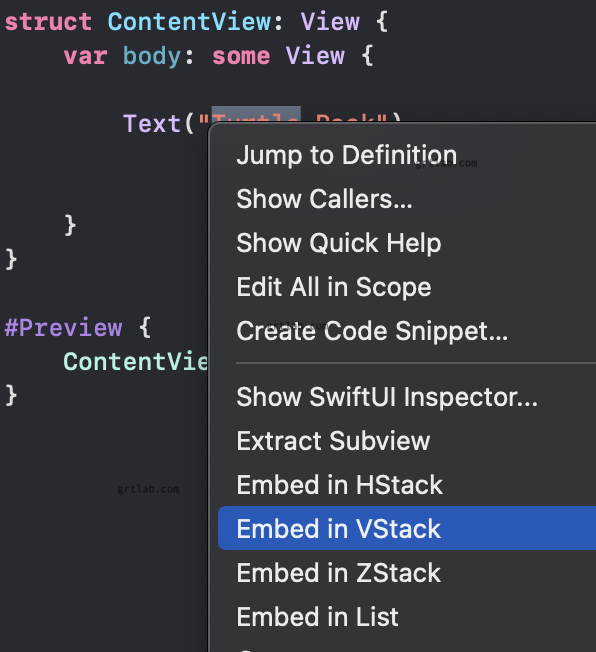
CTRL + command + クリックで
Show SwiftUI Inspector…などのメニューが表示されます
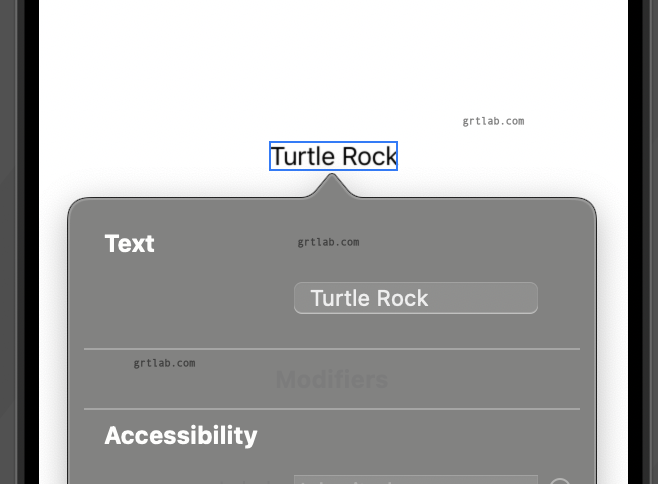
Textを変えてみる
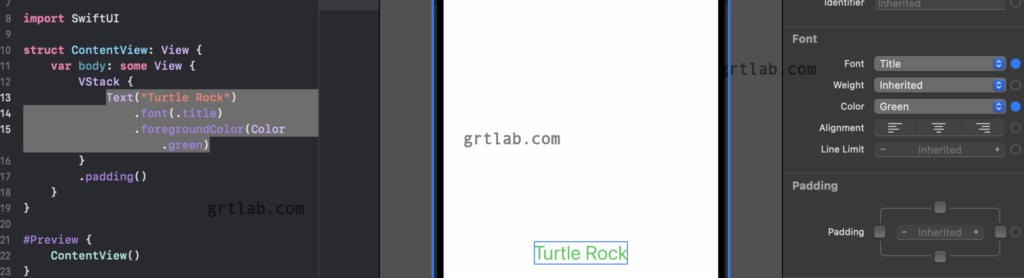
Font を Title / Color を Greenにして反映
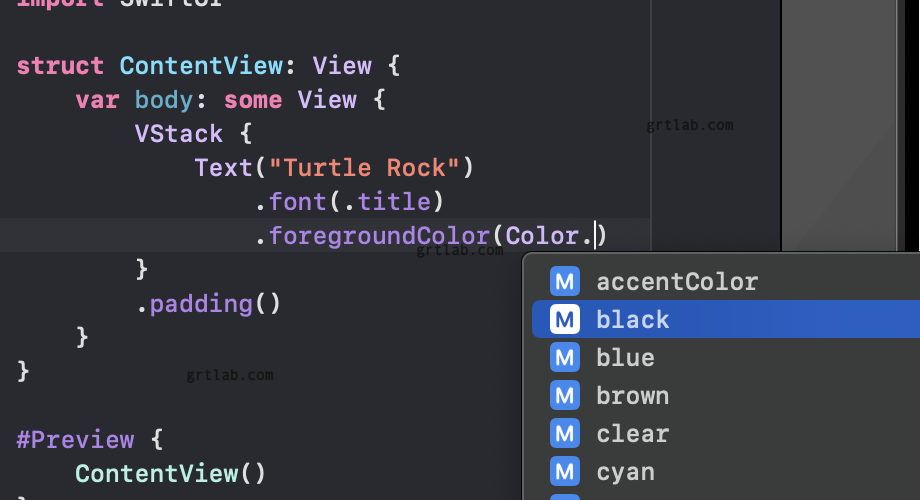
codeを更新でももちろん反映
コードを消すと自動でプレビューが反映されます。
Liveモードに戻す。
Section 3 スタックを使用してビューを結合
最初からVStackに入っていましたが、一旦消して
Textの上で CTRL+クリックで Embed in VStackを選択
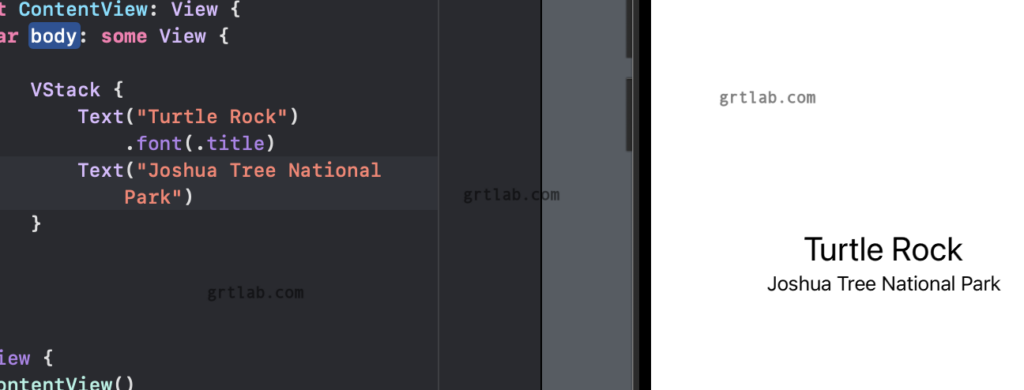
        VStack {
            Text("Turtle Rock")
                .font(.title)
        }
VStackに囲まれる。慣れれば手書きでいいですね
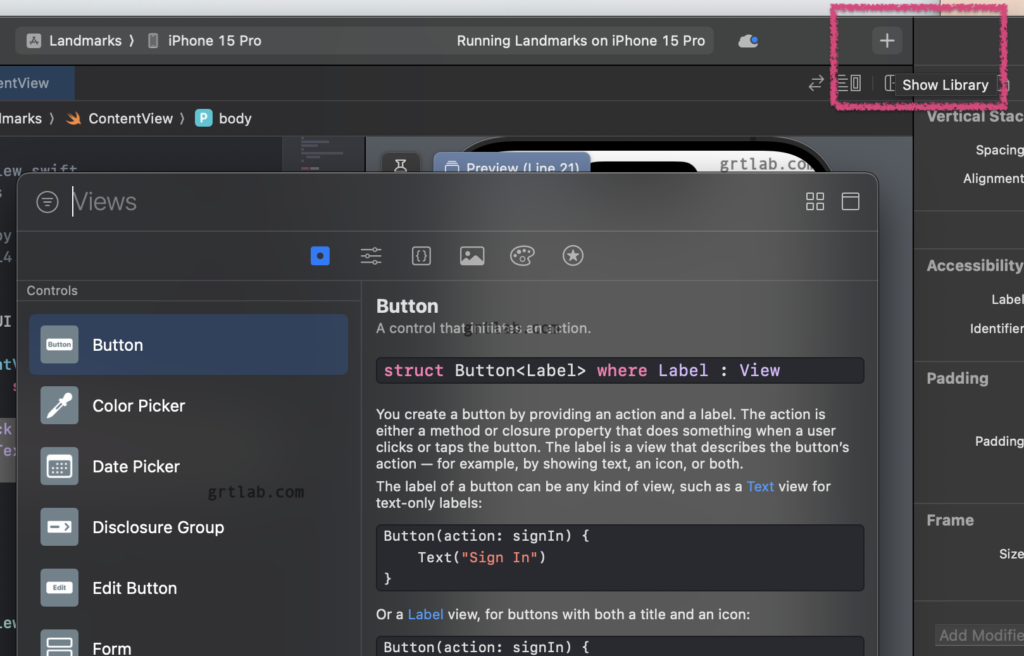
右上のプラスボタンをクリックすると
Library が表示されます。
Textを追加
Text("Joshua Tree National Park")
                .font(.subheadline)
fontを設定
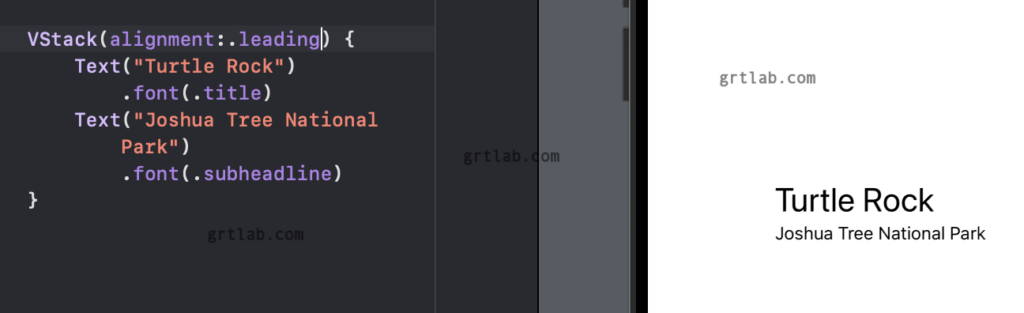
VStackに alignment:.leadingを入れると 左揃えに
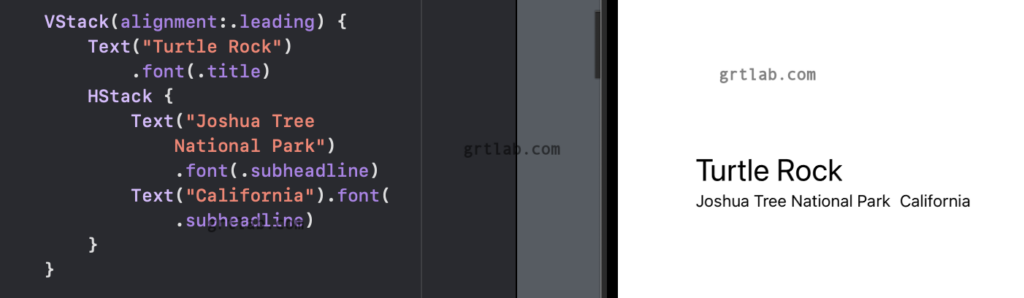
subheadlineのところをHStackに入れて、そこにTextを追加すると横並びに!
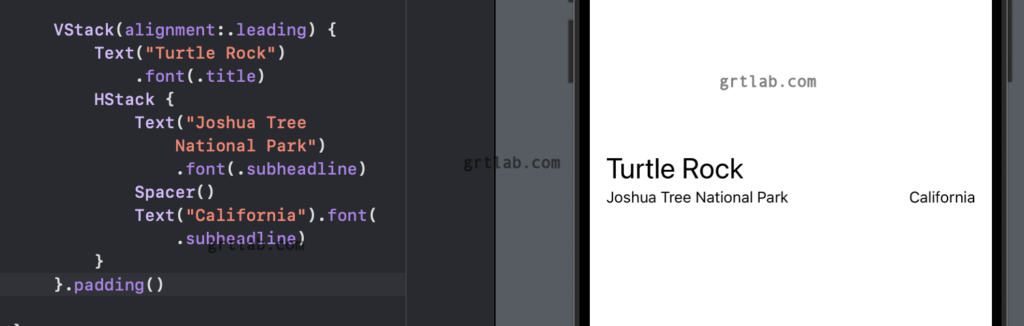
Textの間にSpacer()を入れると両側に離れて
VStackに.paddingを入れると外周に余白が入りました!
section 4 image view 画像をいれる!
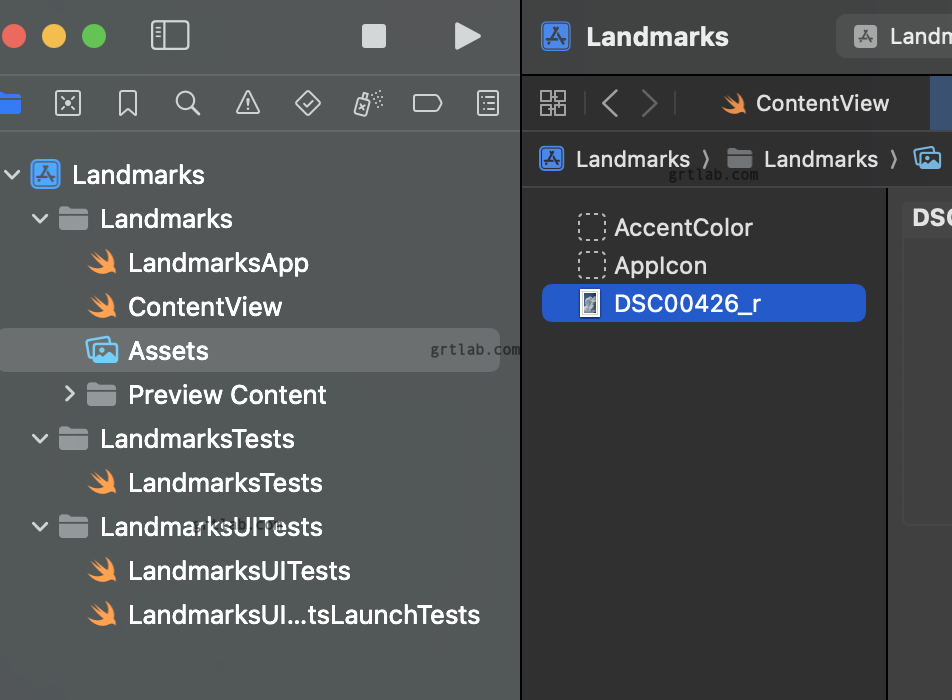
Assetsに画像を入れてみました。JPGと大文字の拡張子は警告が出ましたが、jpgにしたら消えました。
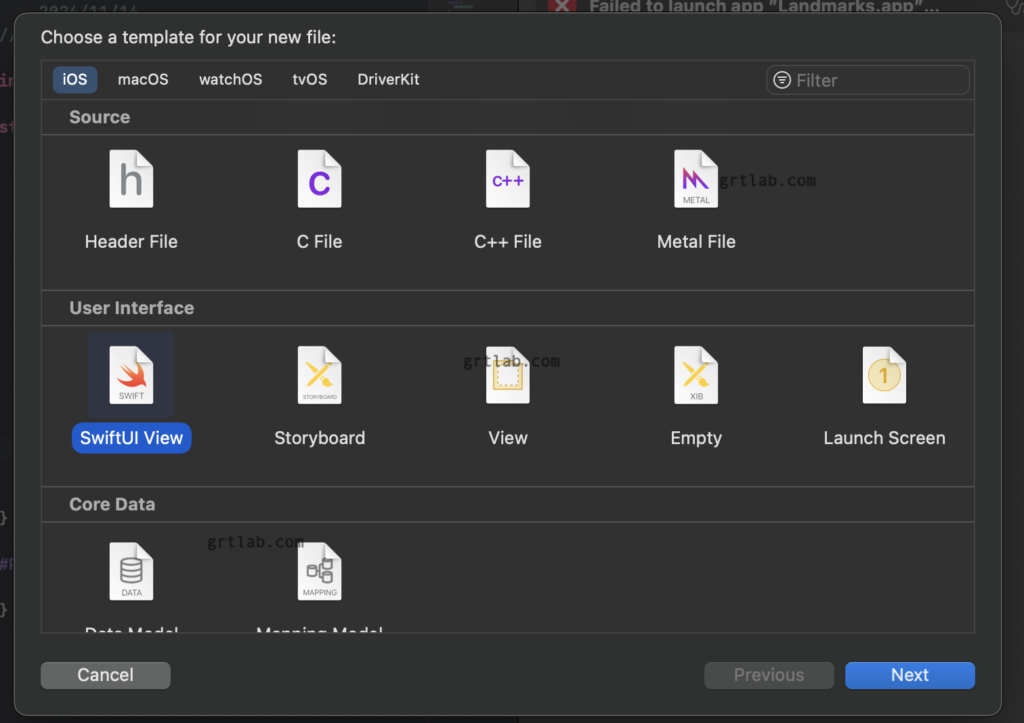
File > New > File で SwiftUI View で Next
ファイル名をCircleImage.swiftで保存
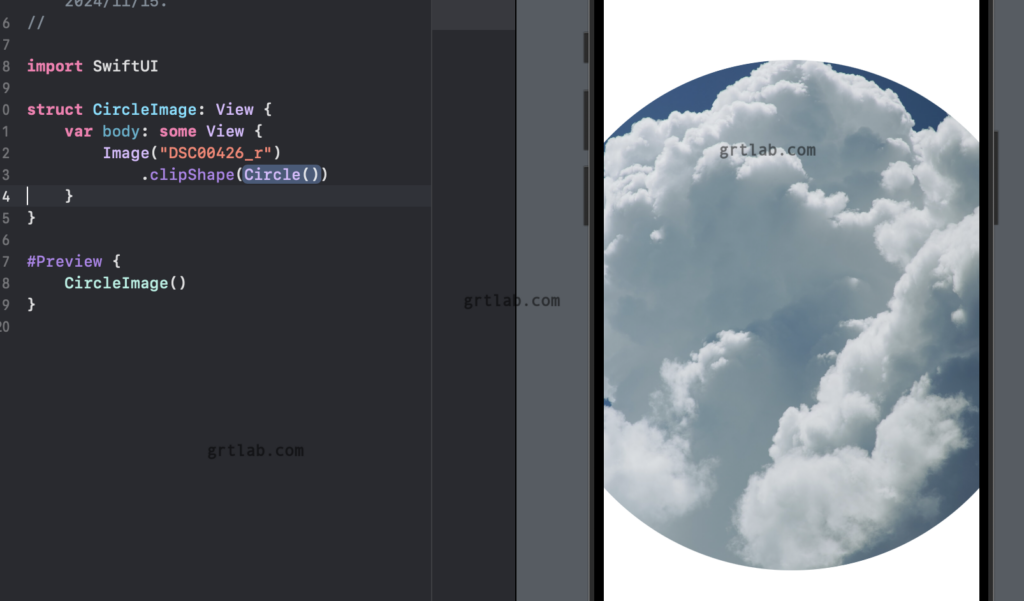
ImageをいれてclipShape(Circle())にしました。
画像が大きすぎた。はて
struct CircleImage: View {
    var body: some View {
        Image("DSC00426_r")
            .frame(width: 300)
            .clipShape(Circle())
            .overlay{
                Circle().stroke(.white,lineWidth: 4)
            }.shadow(radius:7)
    }
}
適当にframeでサイズをつけて、白枠とシャドーでok
section 5 Use SwiftUI views from other frameworks
?どういう意味かな?
SwiftUI Viewに map viewを入れてみる漢字かな?
File > New > File で SwiftUI View を MapView.swift を作成
import MapKit
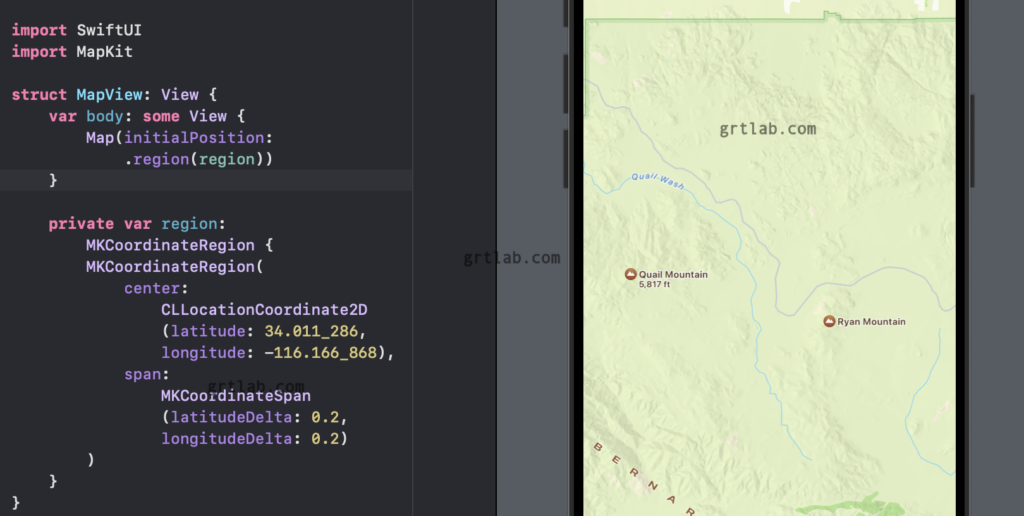
region 座標 と マップ呼び出しを入れると地図が出ました。
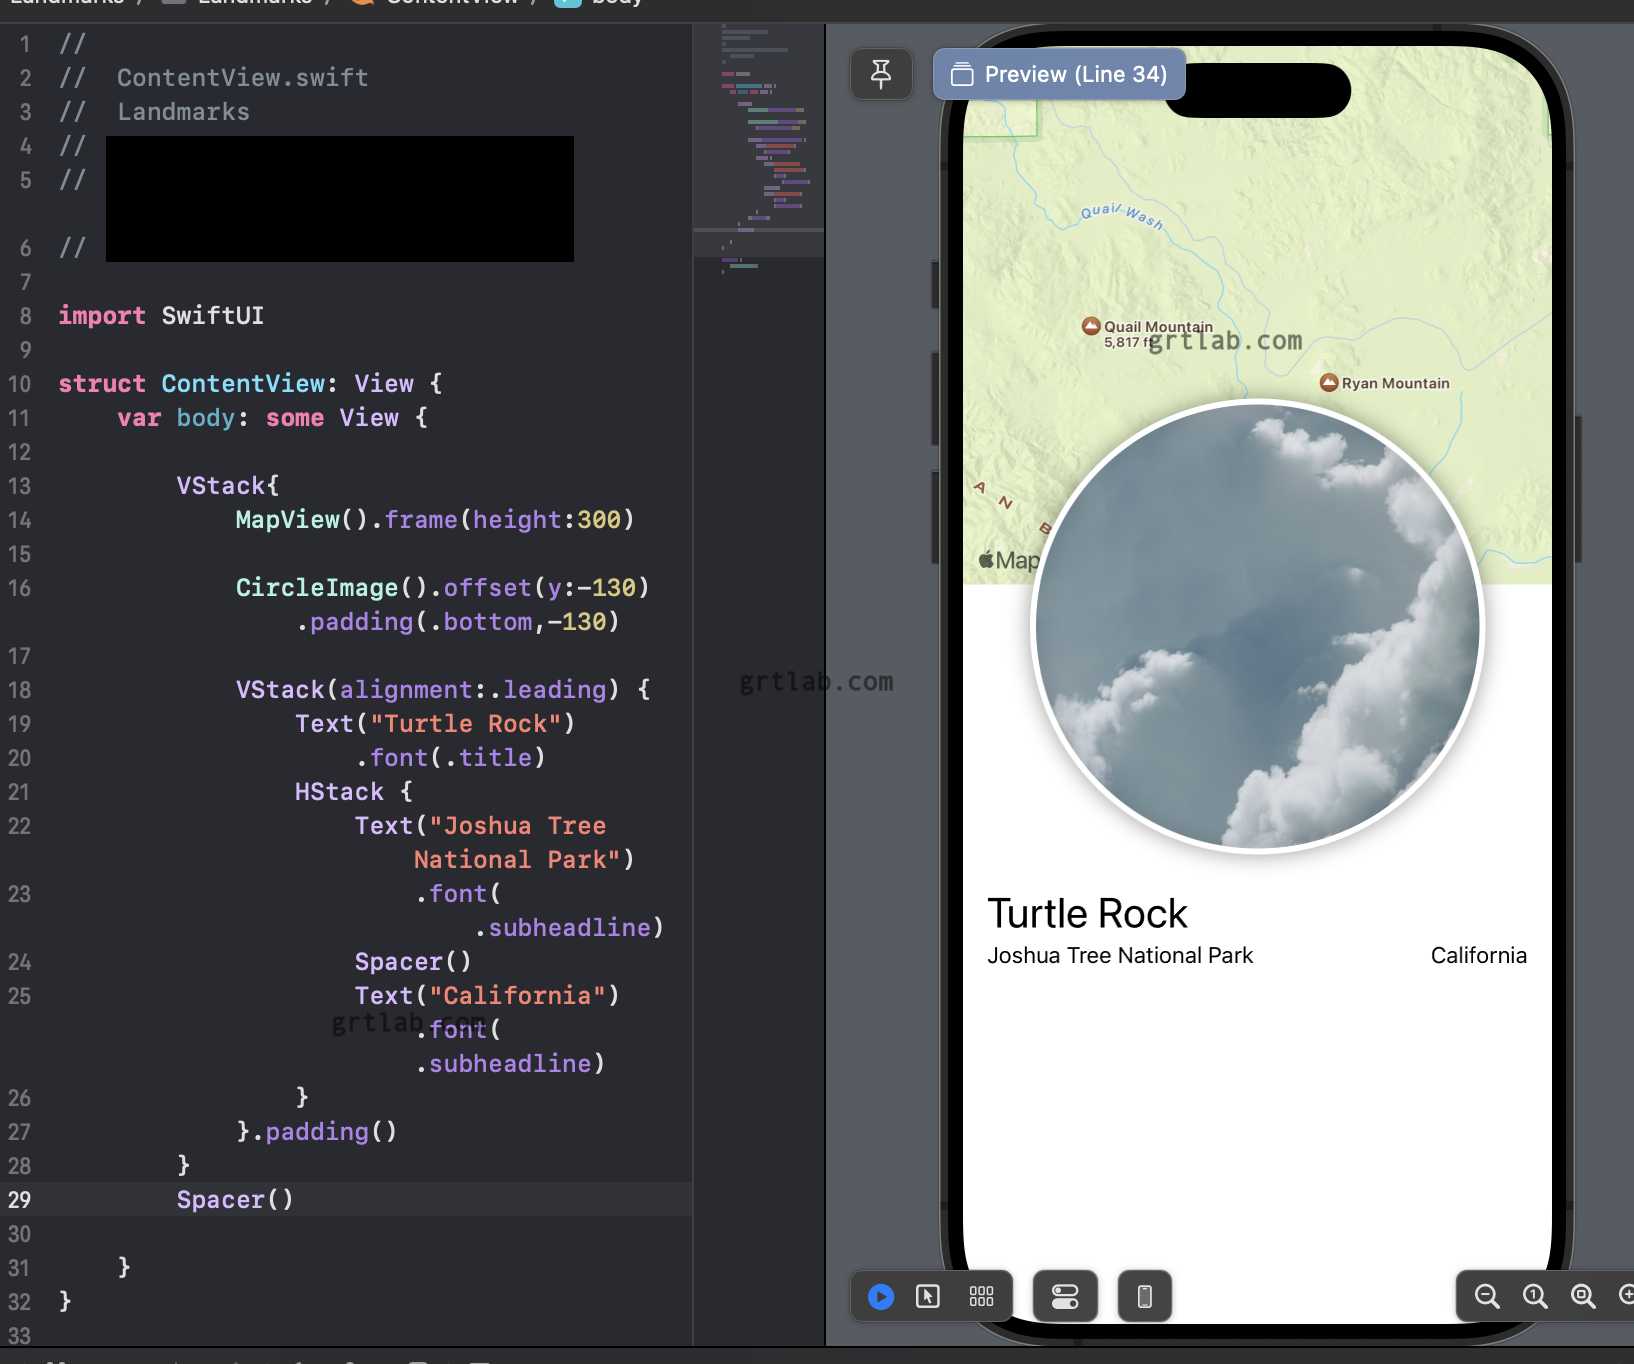
section 6 Compose the detail view 詳細ビューを作成?
content view に統合するっぽい
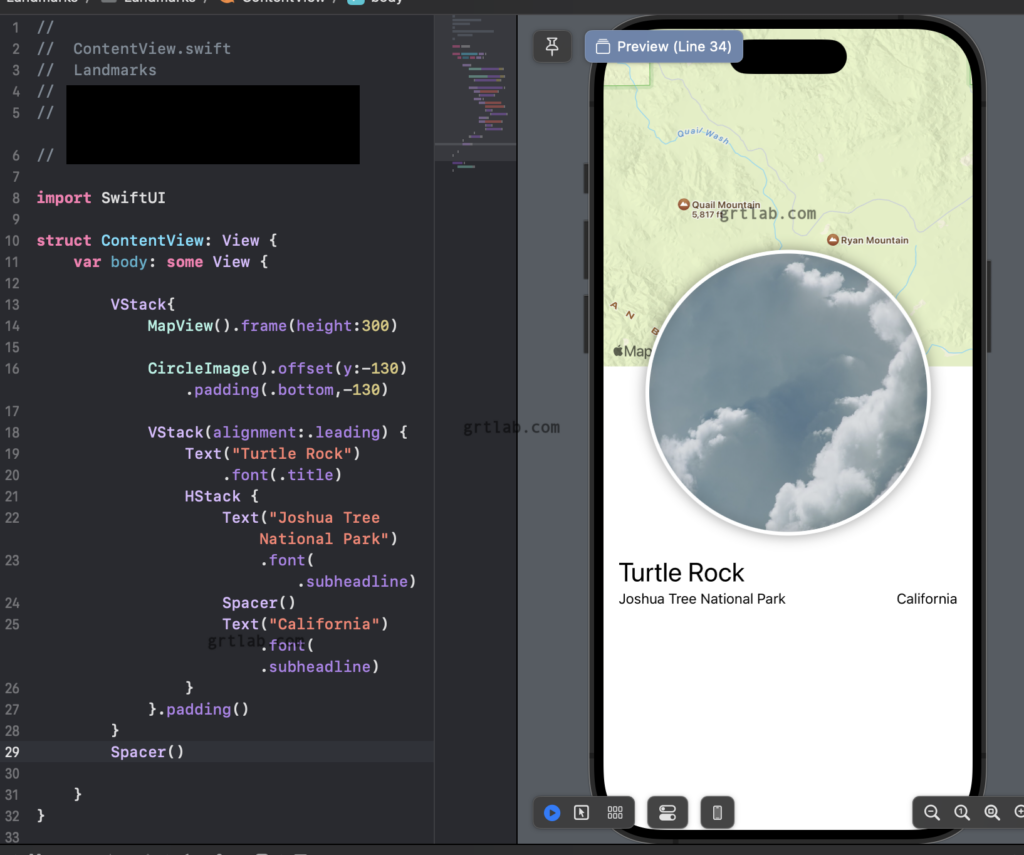
- VStackでさらに囲います。
- MapViewを入れてframeで高さ指定
- CircleImageを追加して、offset, padding
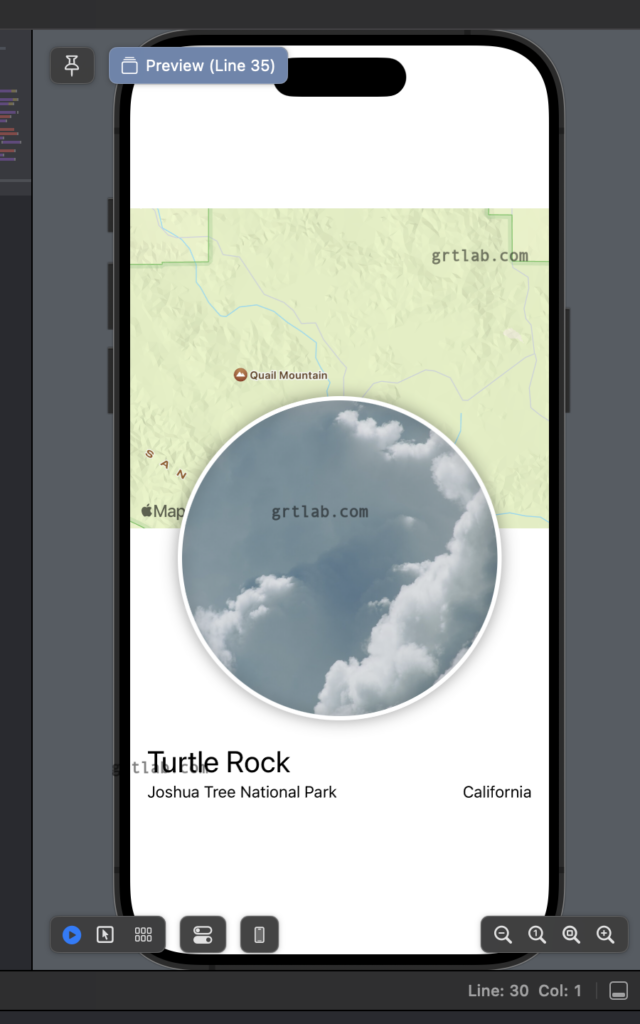
こんな感じ表示、下に Spacer()を入れると上寄せに!
ほーという感じですね。1枚だけはこれで作れそうです^^v
チュートリアルのページを最後まで読むと練習問題が4問
とりあえず良いのかな?
次は!
v2 リスト作成とナビゲーション!楽しみですね!

コメント