push 通知の証明書作成。毎回調べ直すのもアレなのでメモします。
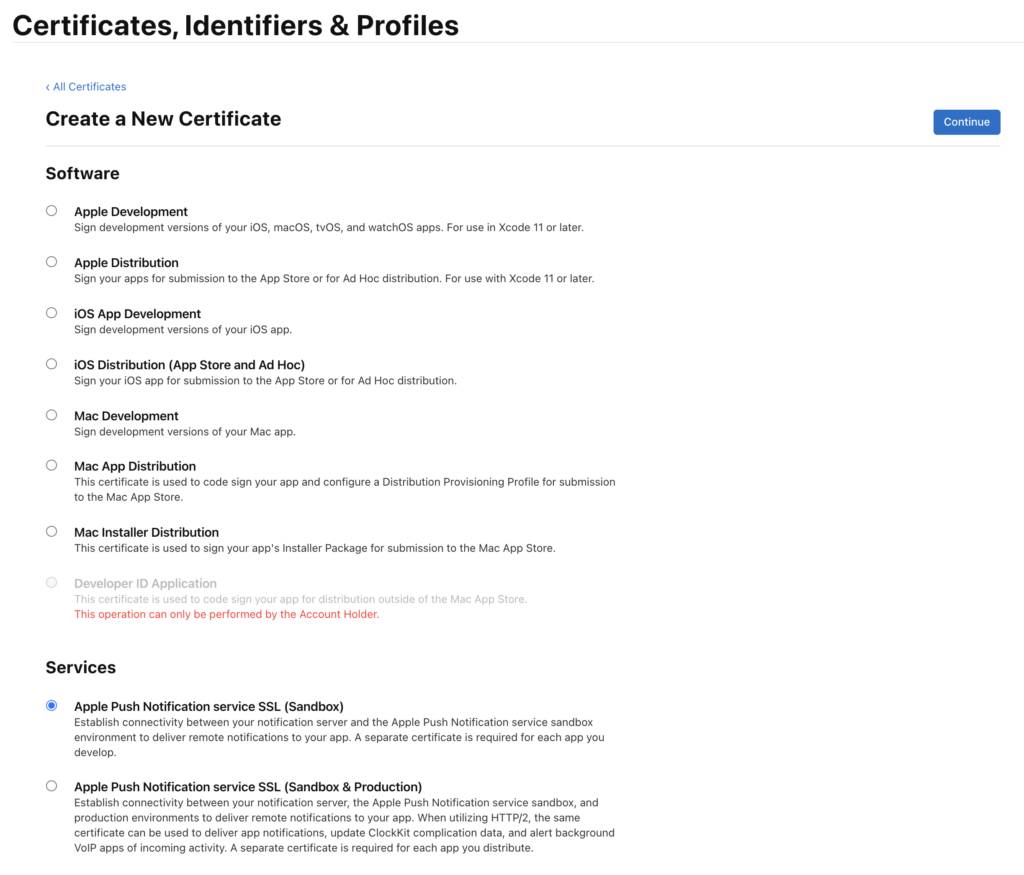
とりあえず開発用は Apple Push Notification service SSL ( Sandbox ) を利用します。
Create a New Certificate
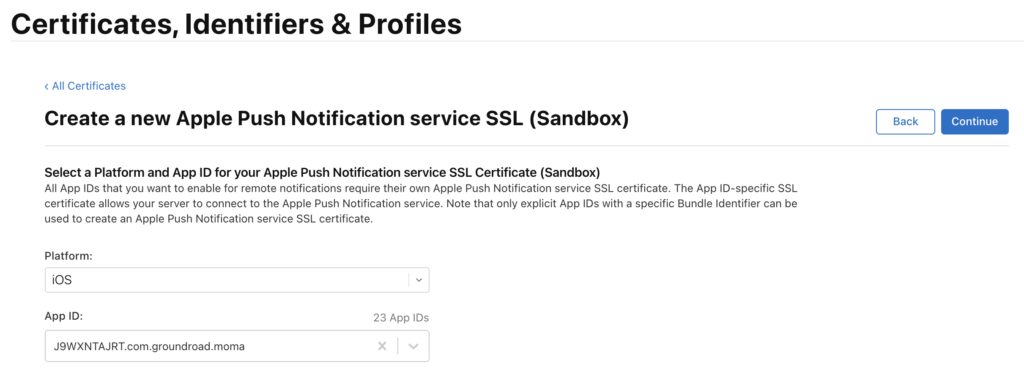
Create a new Apple Notification service SSL
アプリのバンドルIDを選択します。
証明書署名要求
Certificate Signing Request を作成
https://help.apple.com/developer-account/#/devbfa00fef7
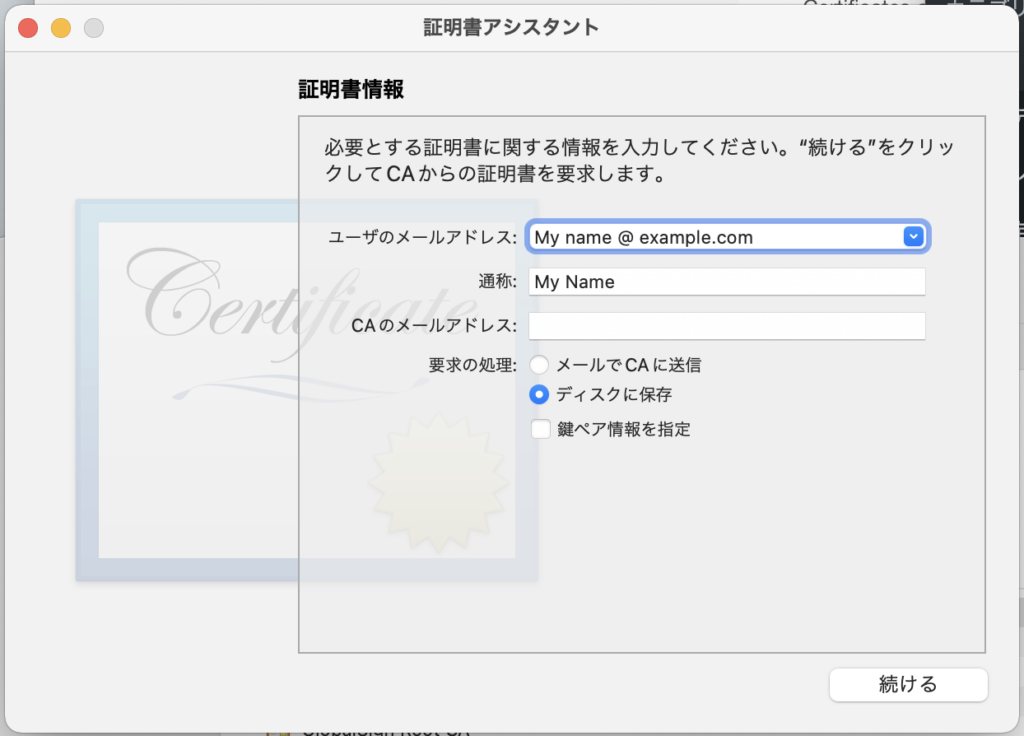
「キーチェーンアクセス」を開いて
認証局に証明書を要求
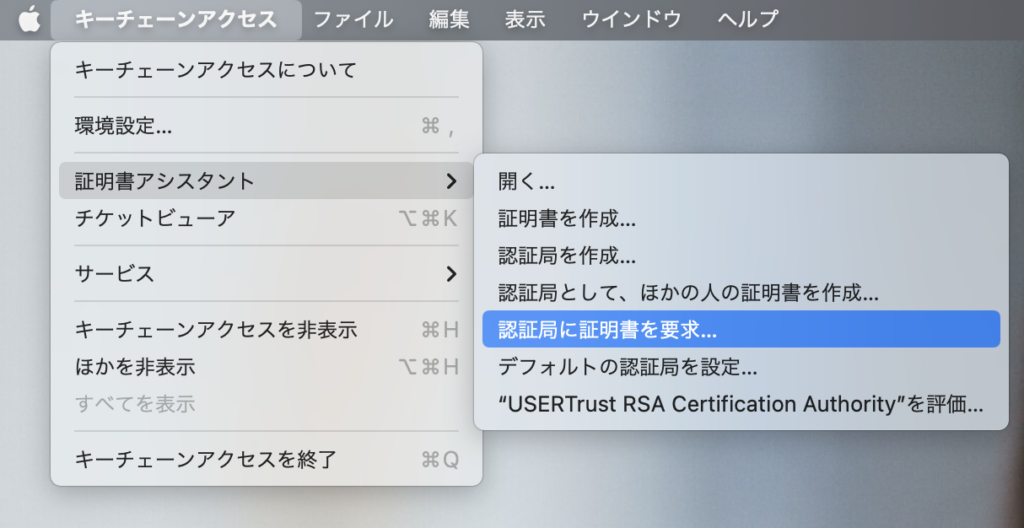
ディスクに保存、で続ける(作成
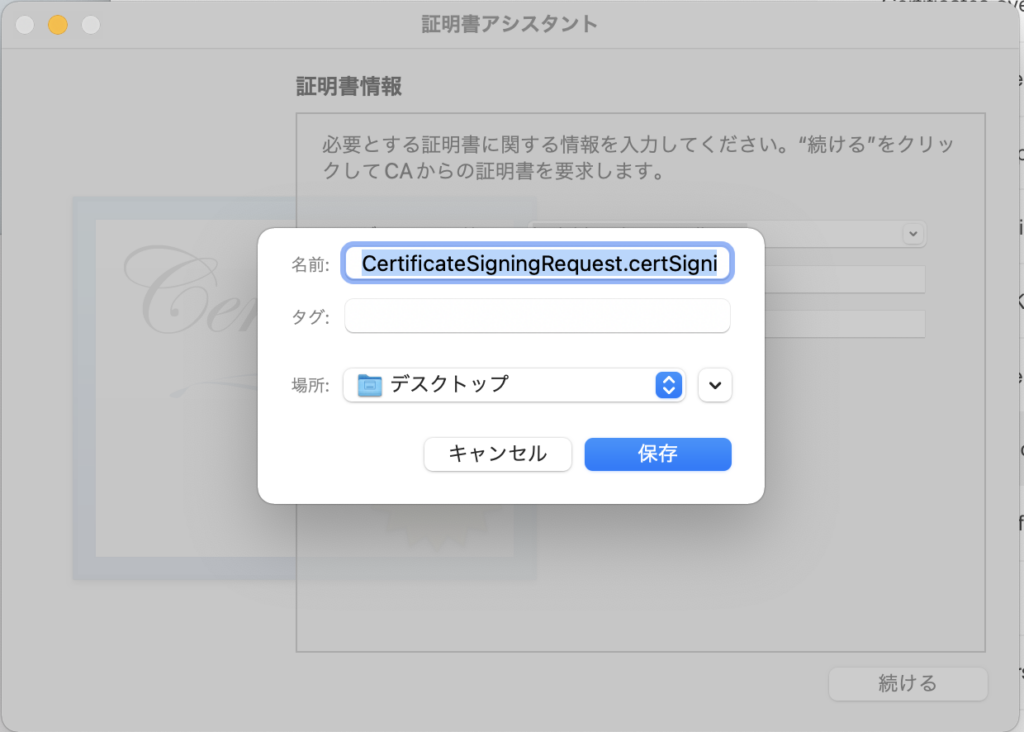
デスクトップに、CertificateSigningRequest.certSigningRequest が作成されるので
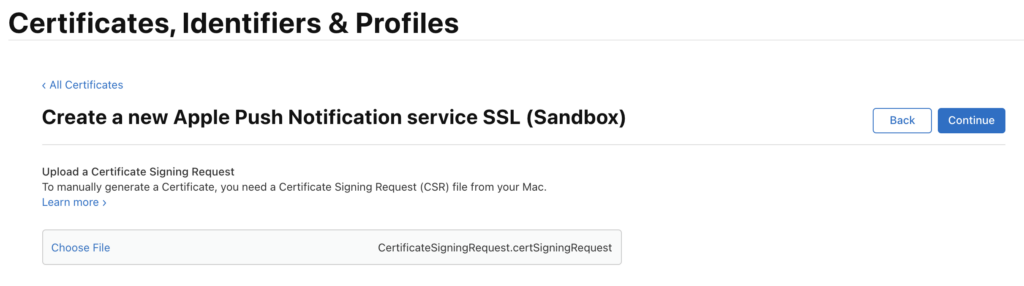
Update a Certificate Signing Request
choose file に先ほど作成されたcsrを
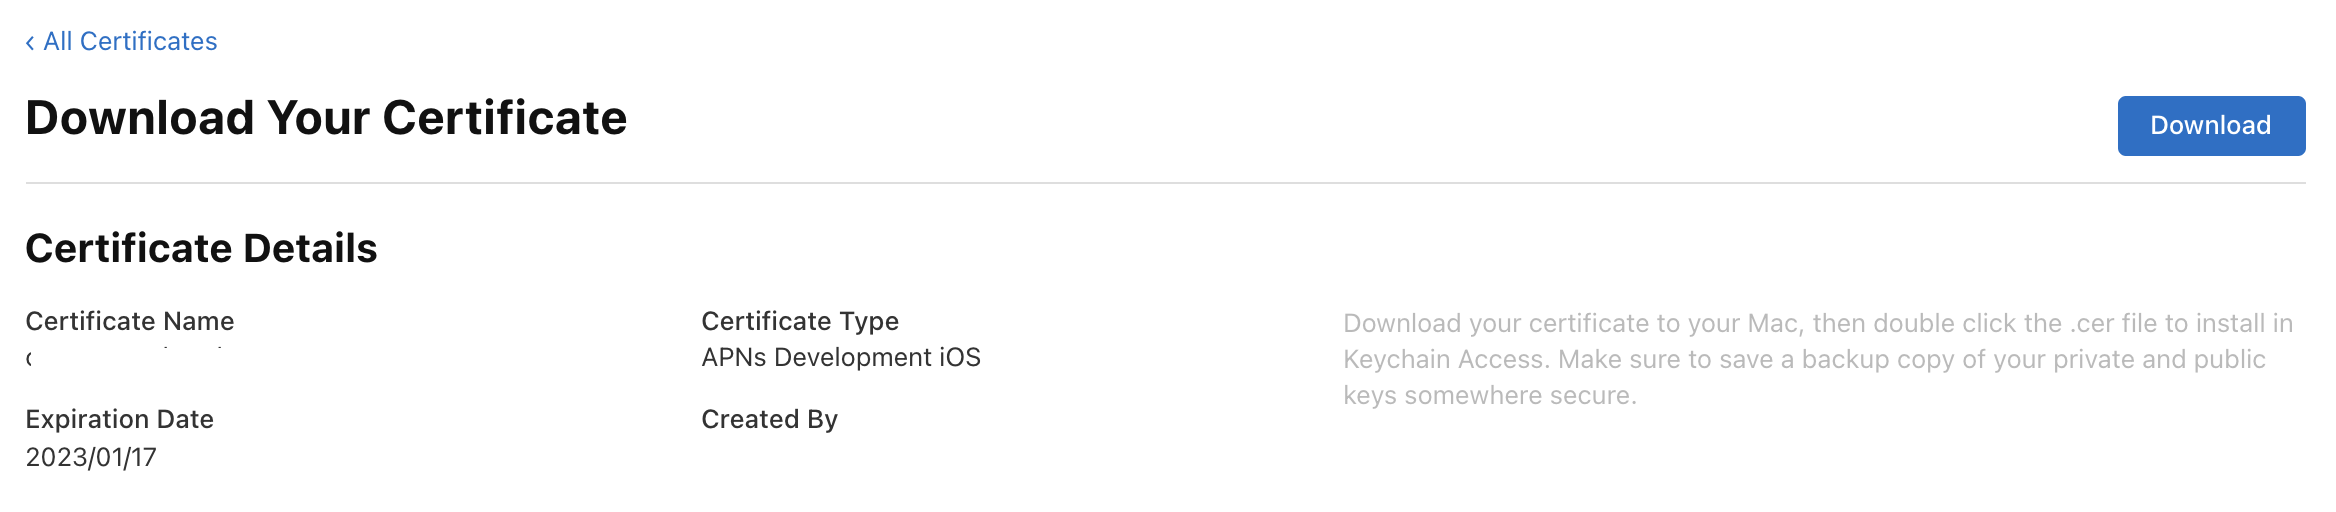
Download Your Certificate
作成されたCertificateをダウンロードします。
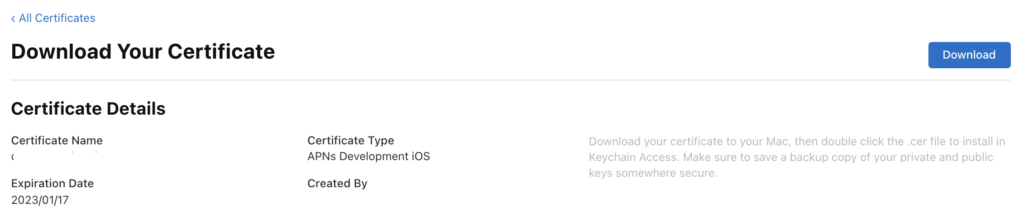
aps_development.cer をダブルクリックすると証明書がキーチェーンアクセスに入ります。
.p12ファイルを作成
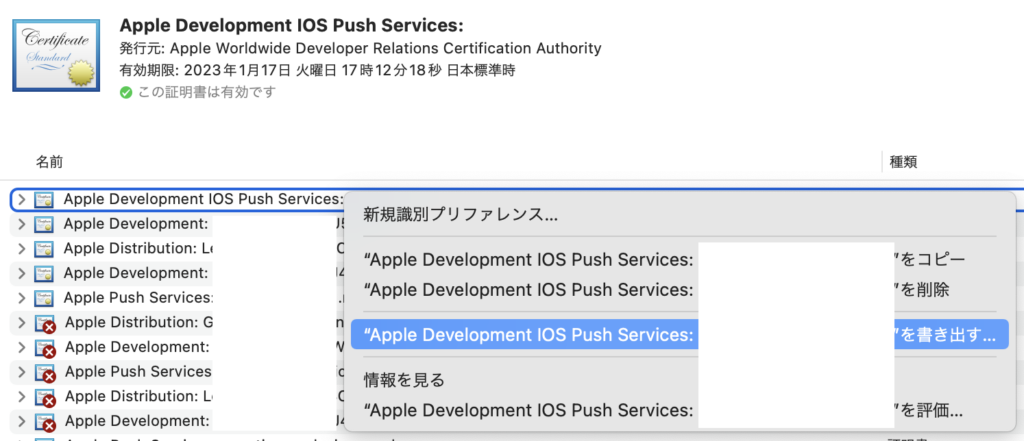
Apple Development iOS Push Service を選択して「書き出す」を選択
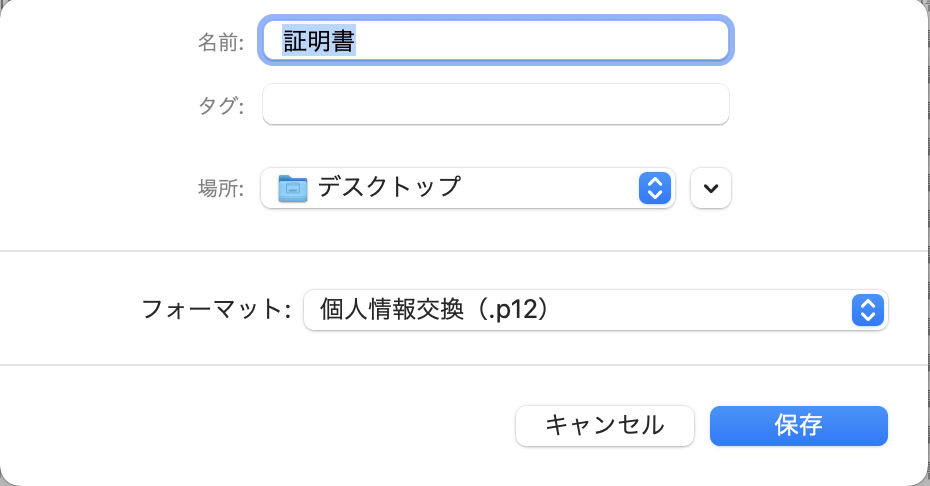
保存、パスワードは入れません。

p12 to pem 変換
$ openssl pkcs12 -in 証明書.p12 -out apns_dev_20220117.pem -nodes -clcerts
Enter Import Password:
MAC verified OK
apns_dev_20220117.pemをサーバーから送信するときに使います。
push 確認
$ php test.php
Response from apple -> 200
送信確認できました^^
コメント