Boss Room : unity sample
PhotonとUnity Relayどちらを使えば良いのかな?というところでとりあえず動かしてみます。
https://docs-multiplayer.unity3d.com/docs/learn/bossroom/index.html
co-op sample こちらをダウンロードしました。

2020.3.27f1をインストールしました。
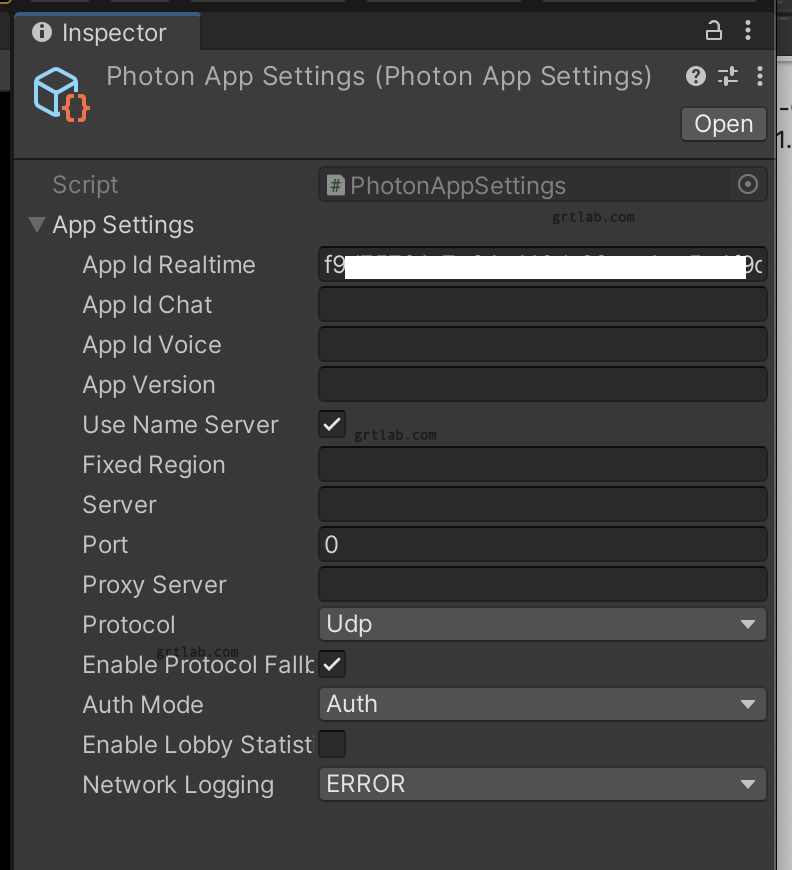
Photon realtime setting
Photone Realtimeでアプリケーションを作成
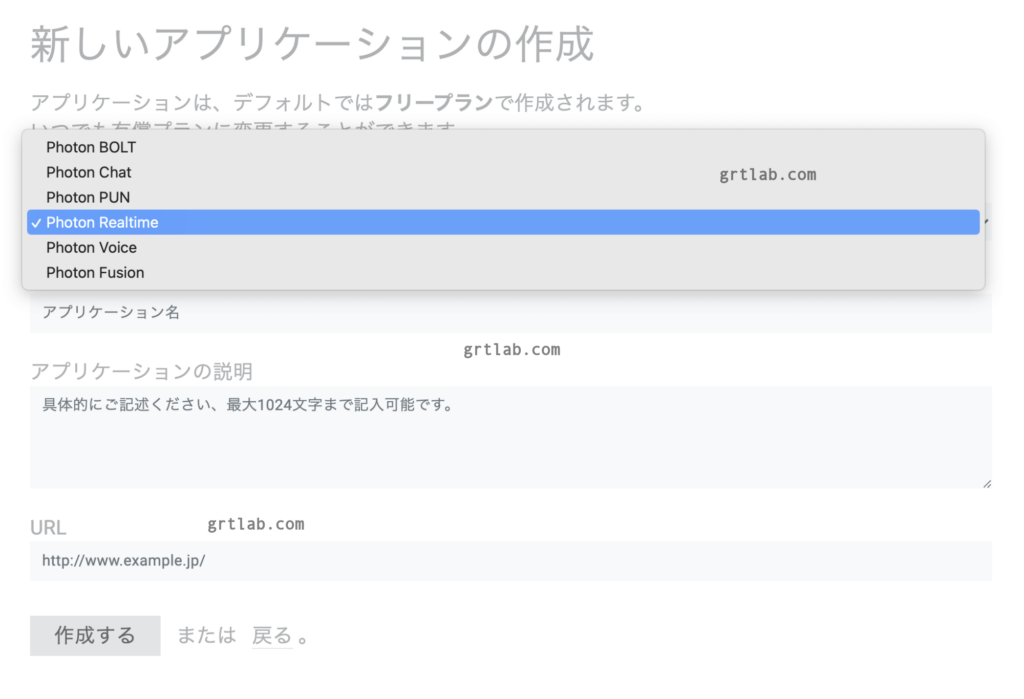
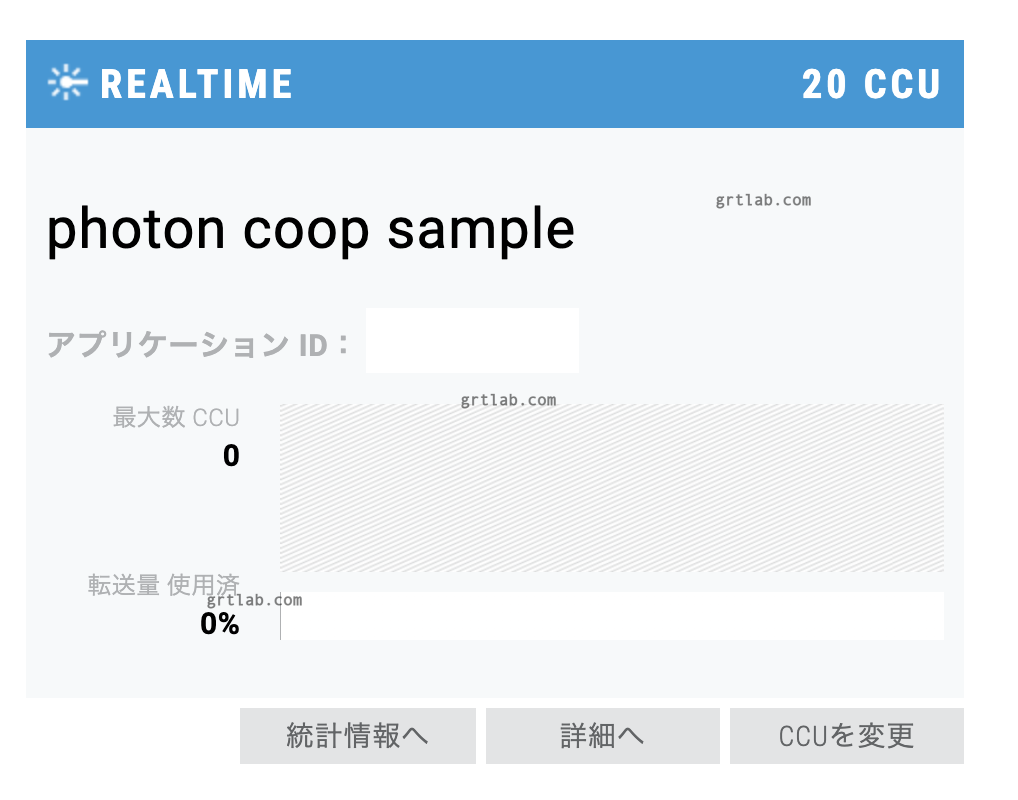
アプリケーションIDを取得して Unity Projectに設定
Window > Photon Realtime > Wizard
Photon Cloud > Photon AppIDにコピーしたIDを入力してSetup!
Nextで進んで completeを表示してから閉じました。
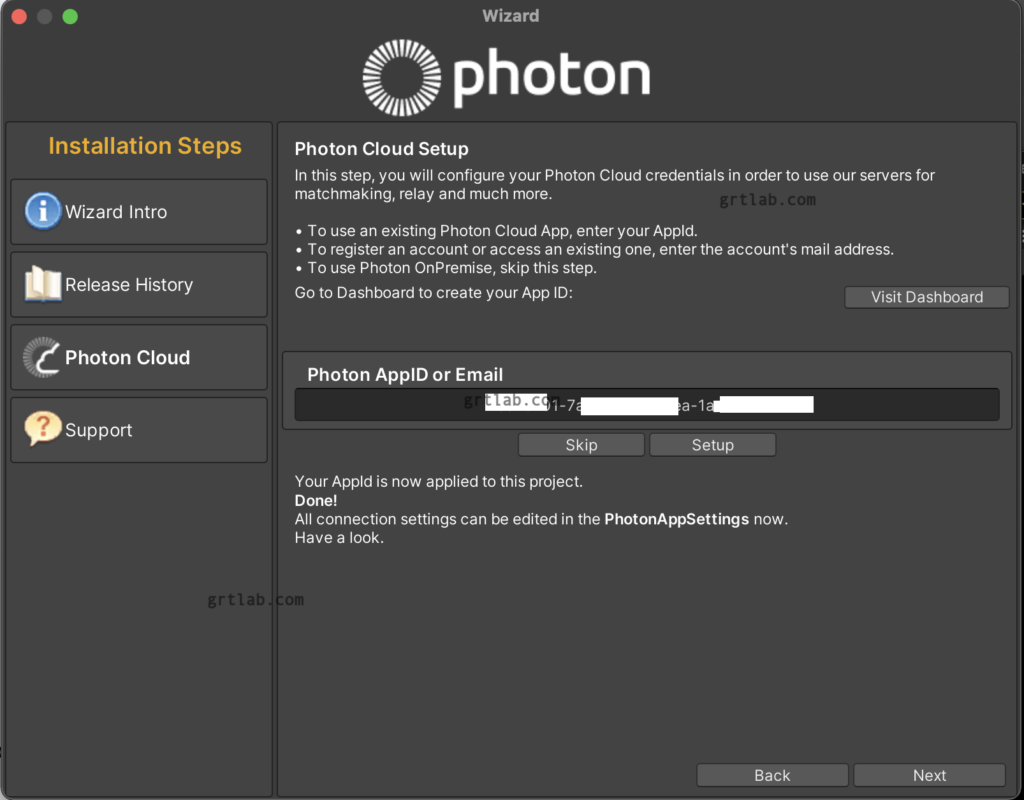
Assets / Photon / Resources の Photon App Settings で編集可能です。
パッケージをビルドした方が良いみたいです。
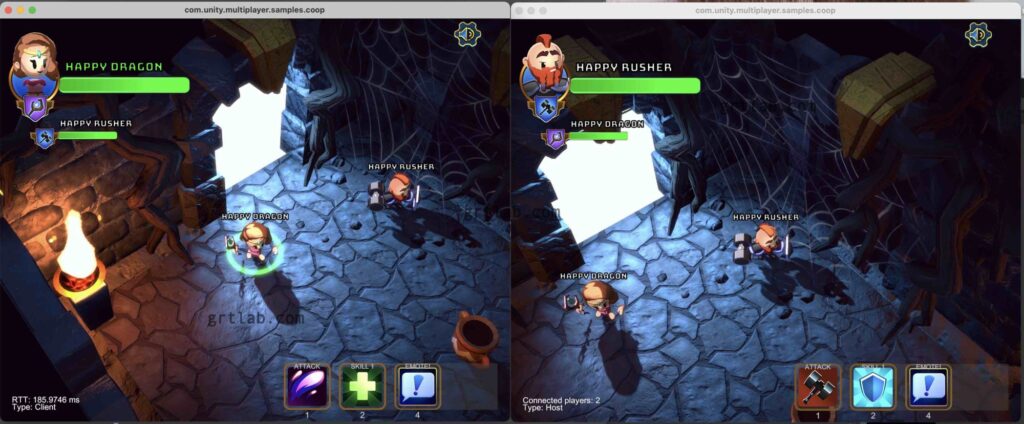
ビルド
boss.appとしてビルドして、2つ起動
open -n boss.app
で、mac は2つ起動できます。
HOSTになる
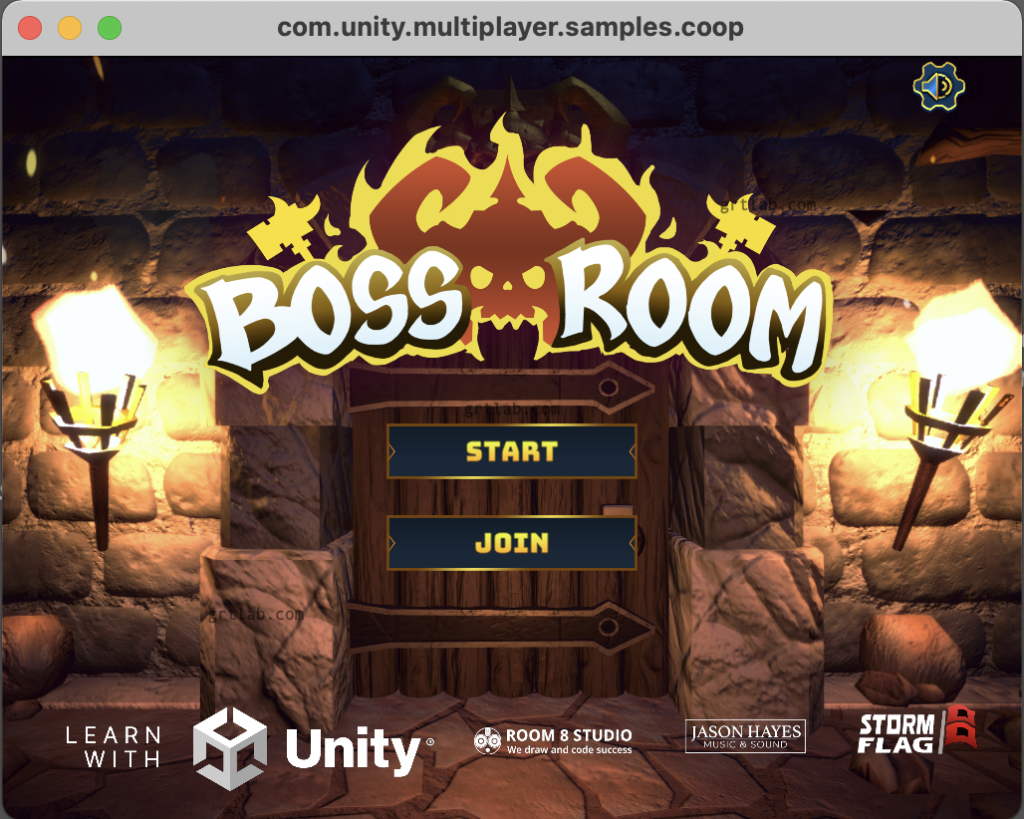
START

PHOTON RELAY を選択して、CONFIRM
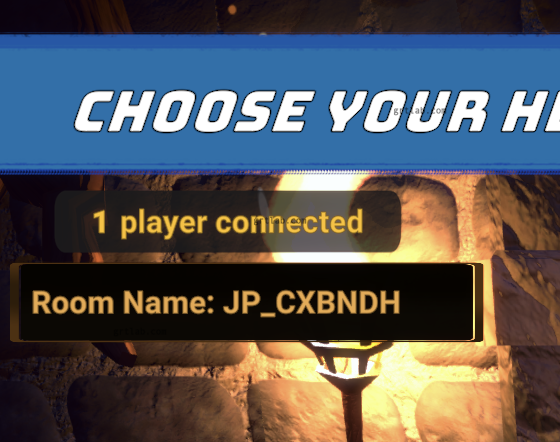
HOSTが接続できて Room Nameが生成されました。
CLINET接続
STARTではなくJOINから開始
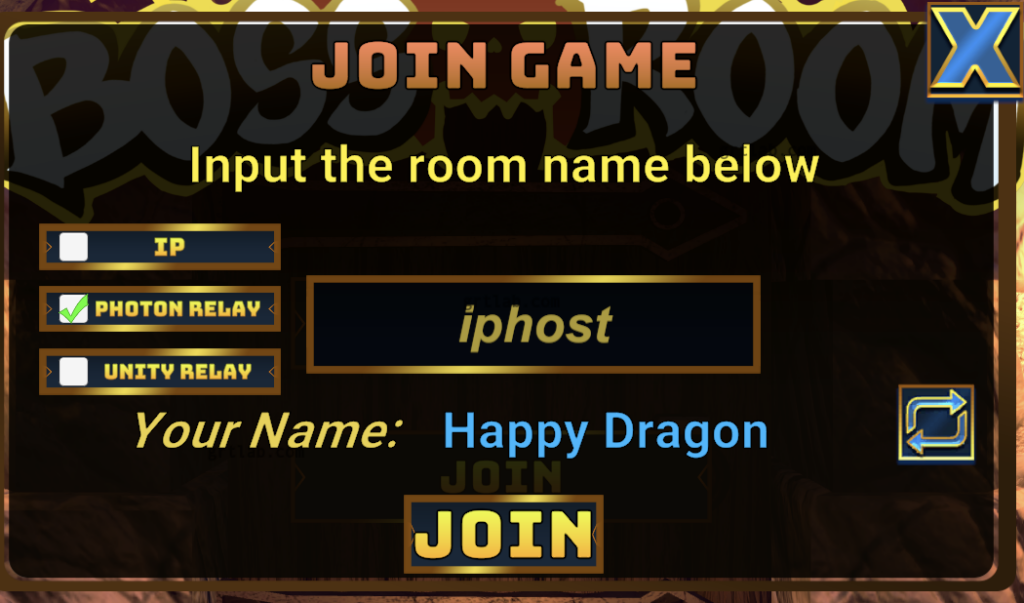
PHOTON RELAY を選択 iphostとなっているところにHOSTで生成された Room nameを入力してJOIN
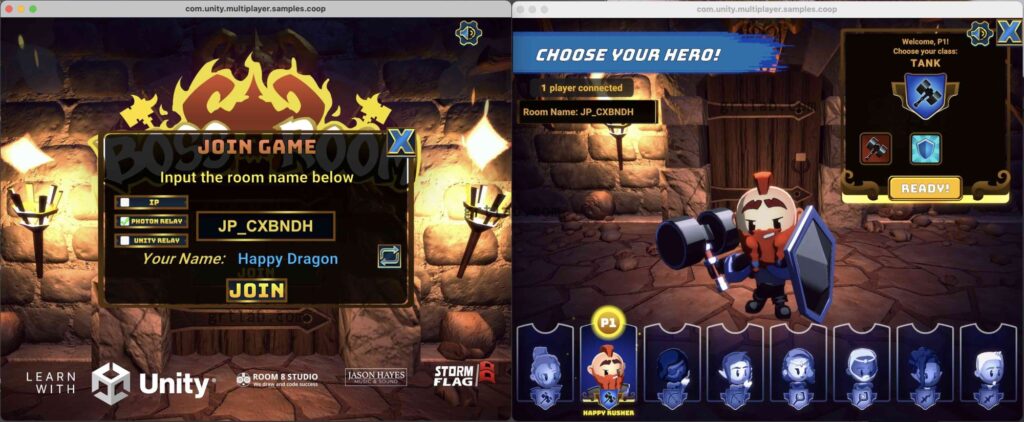
Photon realtimeで接続できました^^
次にUnity Relayで接続してみます。
Unity Relay
と書いてあるけどよくわからないのでちょっと

こちらを見てみました。
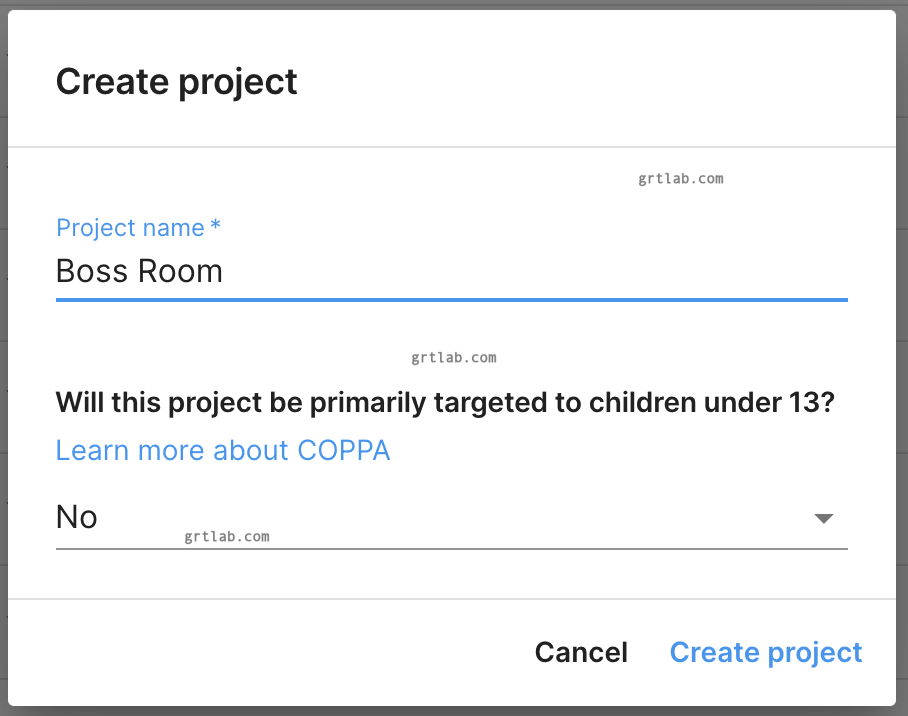
Unity Game Servicesからプロジェクト設定、Unity Relay設定を行う

Projects > create project
Multiplayer > Unity Relay
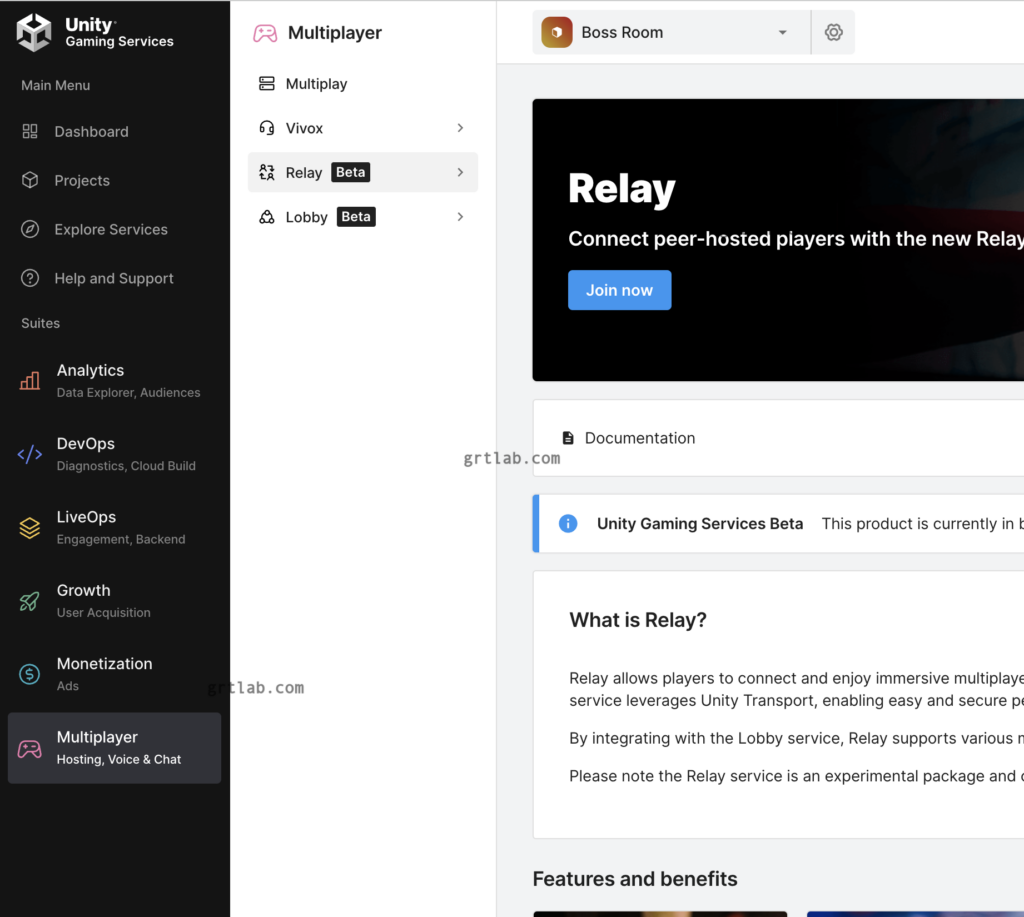
「Join Now」
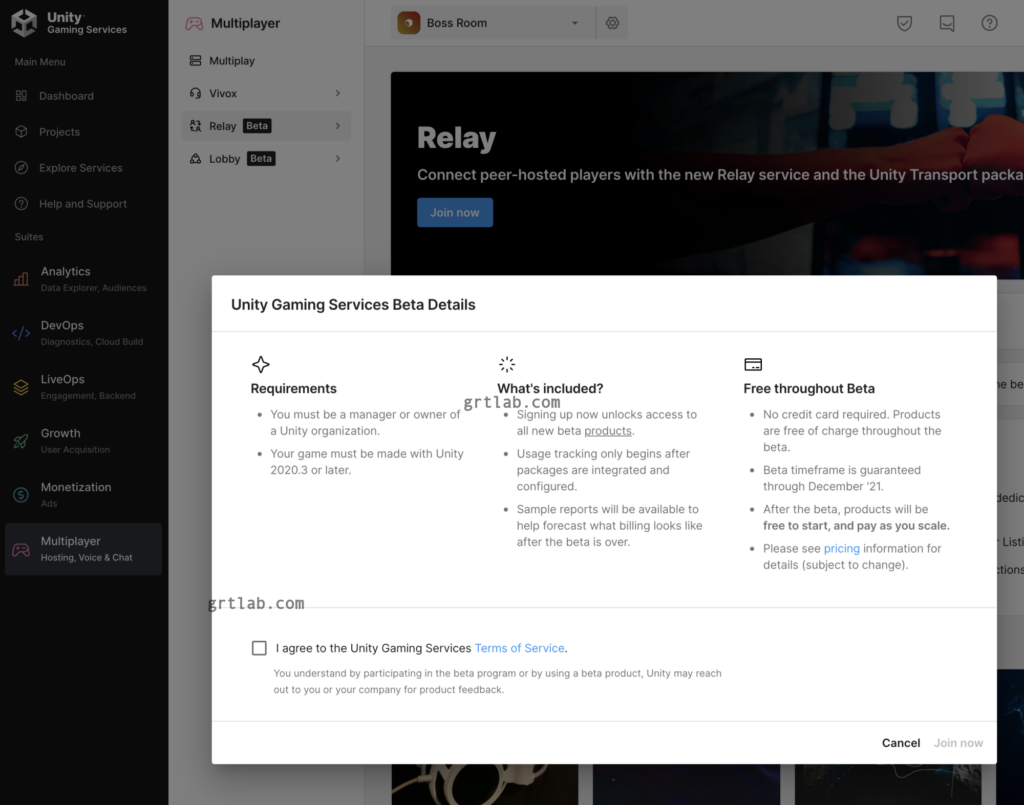
するとsettings の SDKダウンロードに移動します。
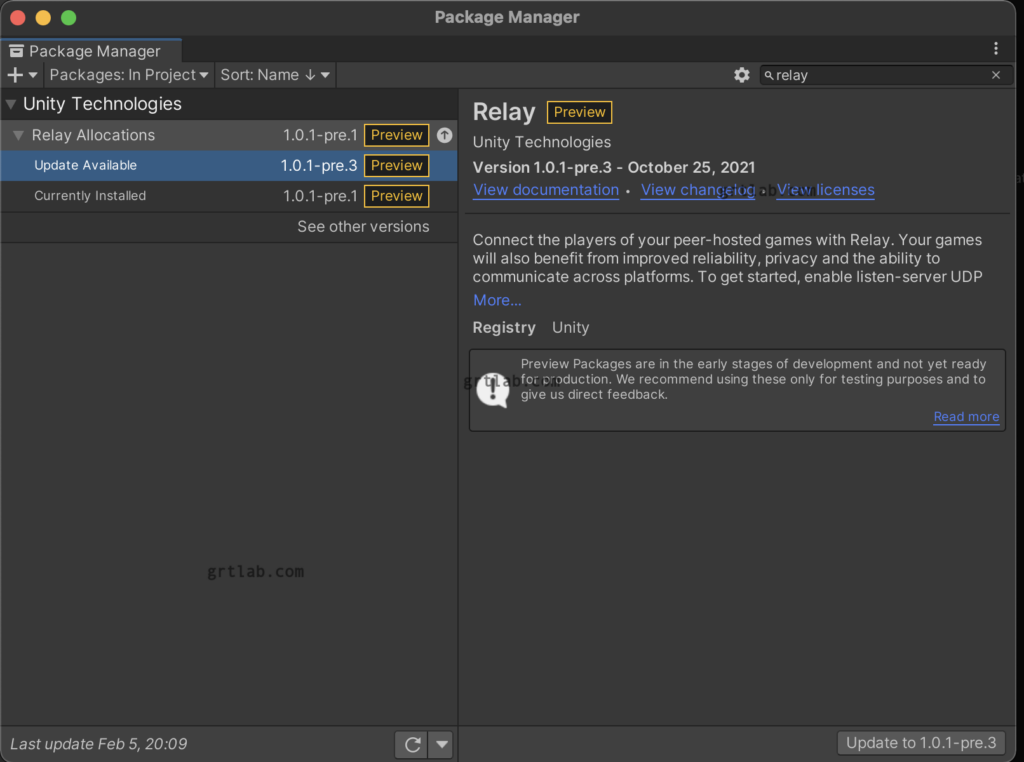
Packages/manifest.json をみると入ってるかわかります。
package manager の Relay Allocations が com.unity.services.relayのようで
まあ他のものも入っています。古かったら更新しておきます。
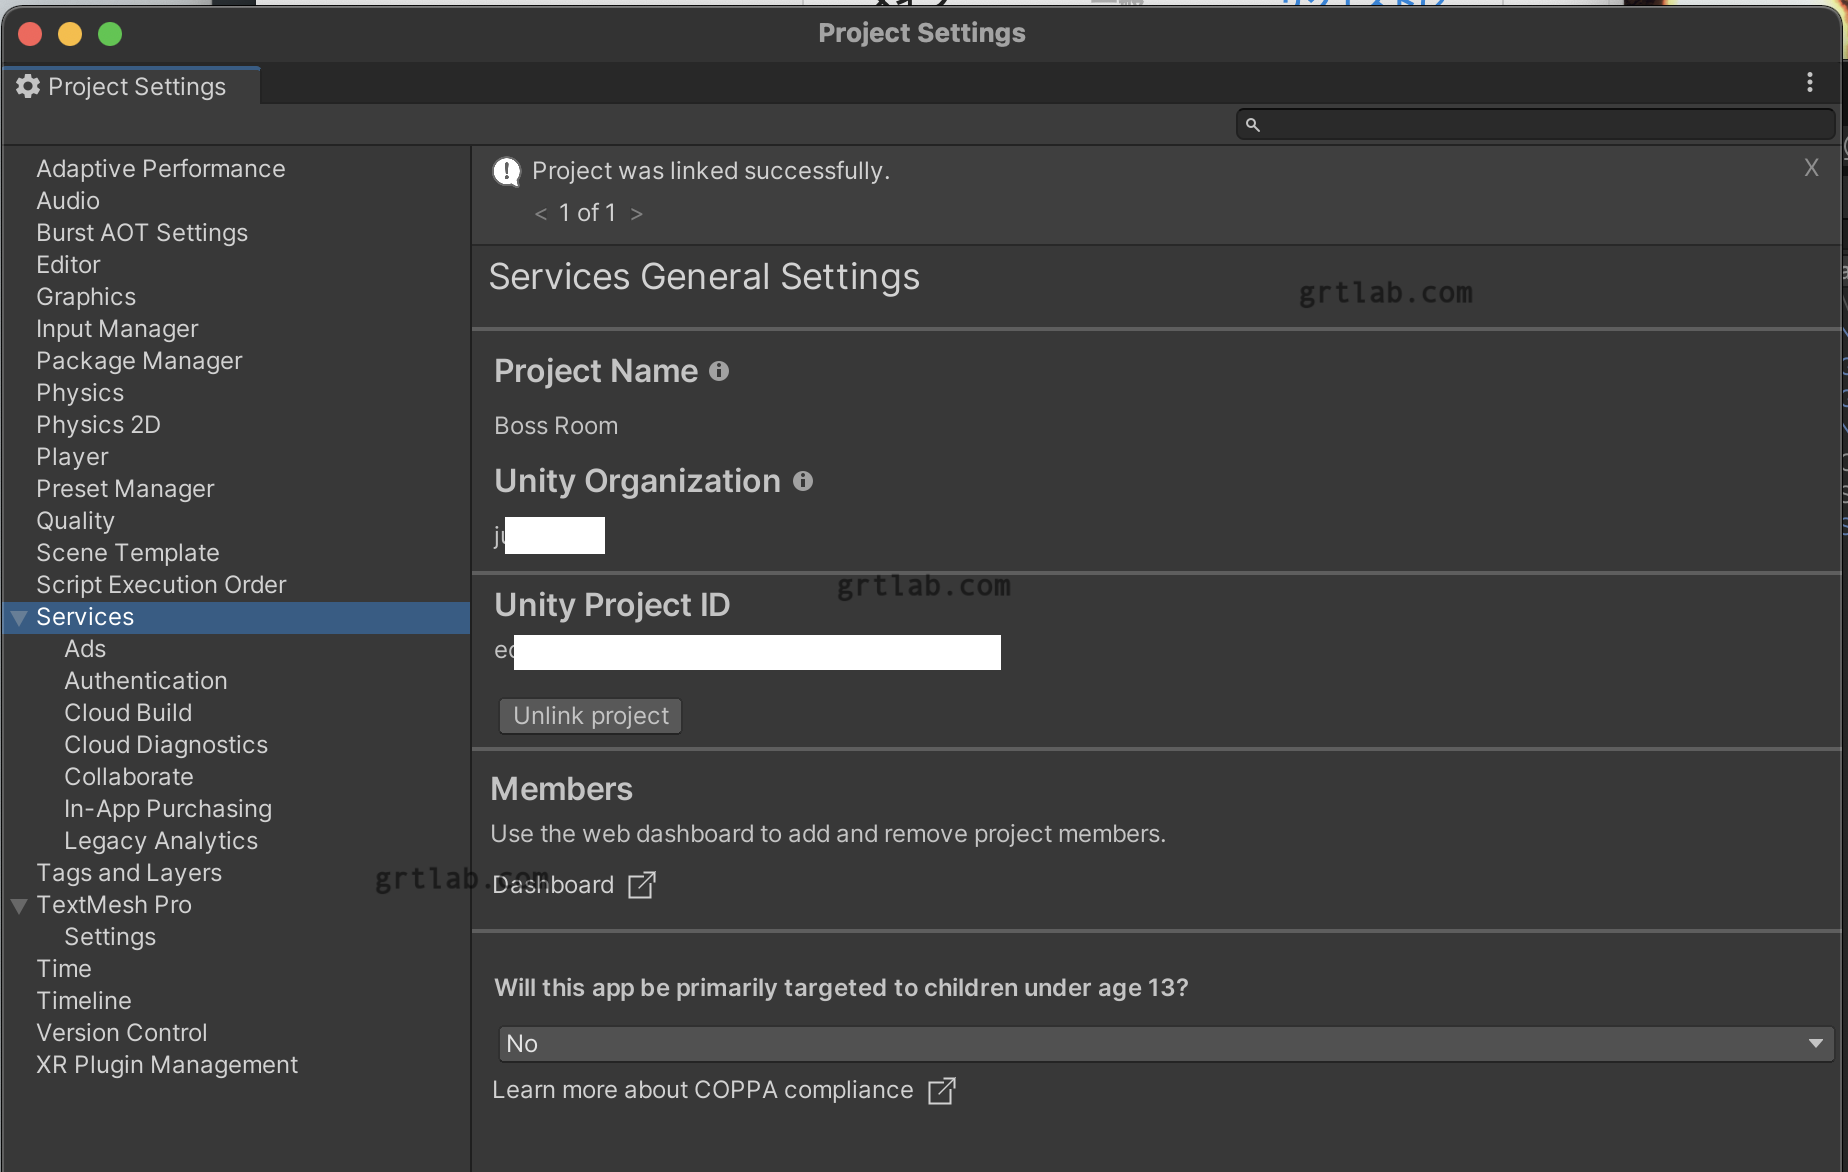
Edit > Project Setting > Services
Organizations で自分の
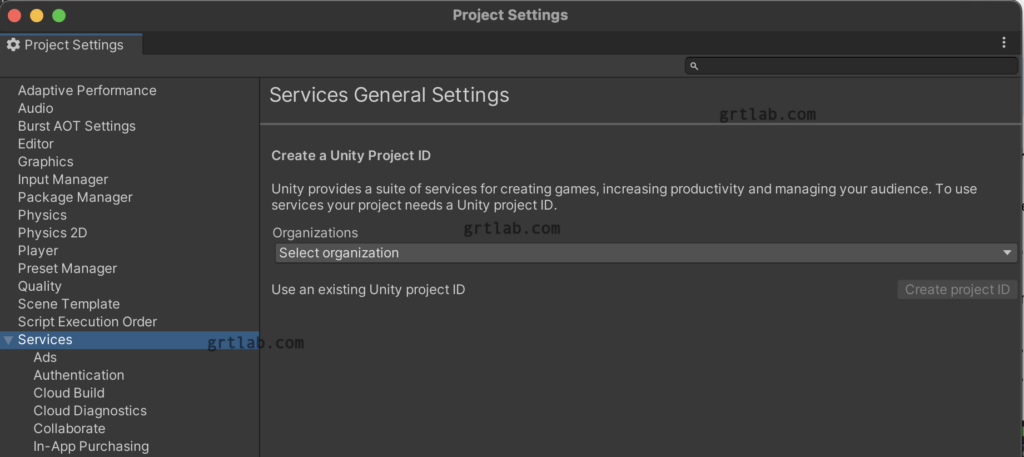
Use an existing Unity project IDを押すと
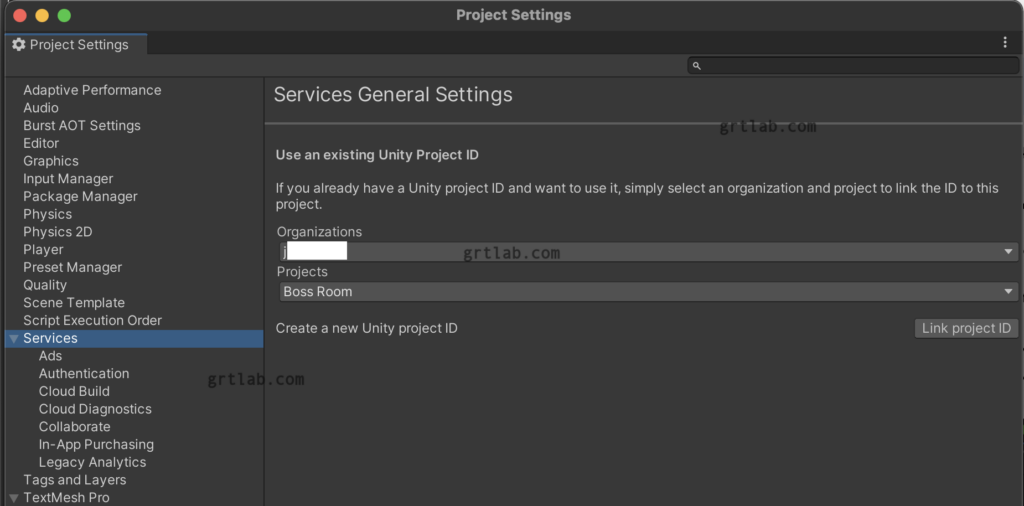
Organizationsと Projects を game service で作成したものを設定
Link project ID をクリック

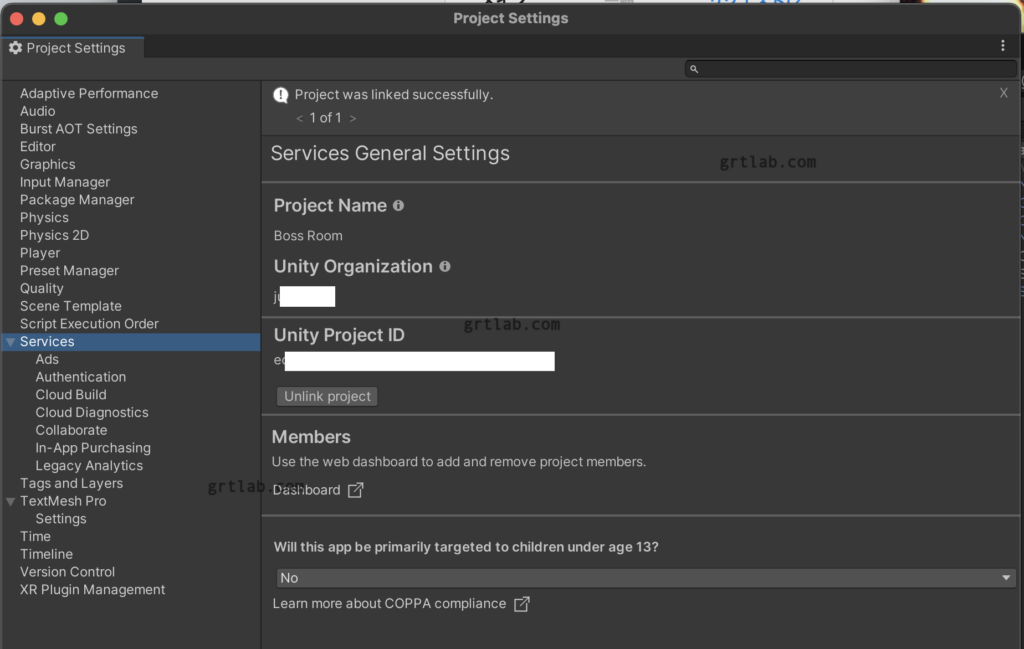
設定完了のようです。
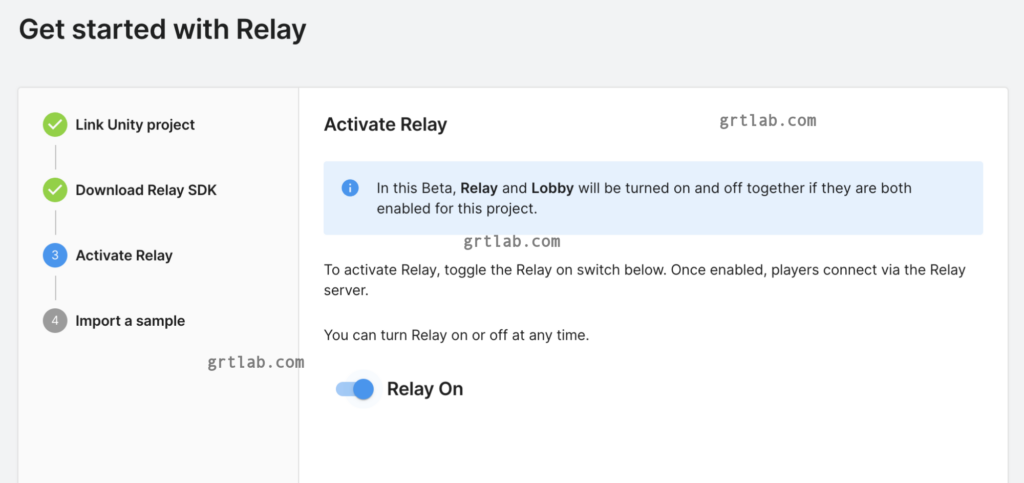
nextで進んで Activate Relay – > Relay On にするとOKみたいです。
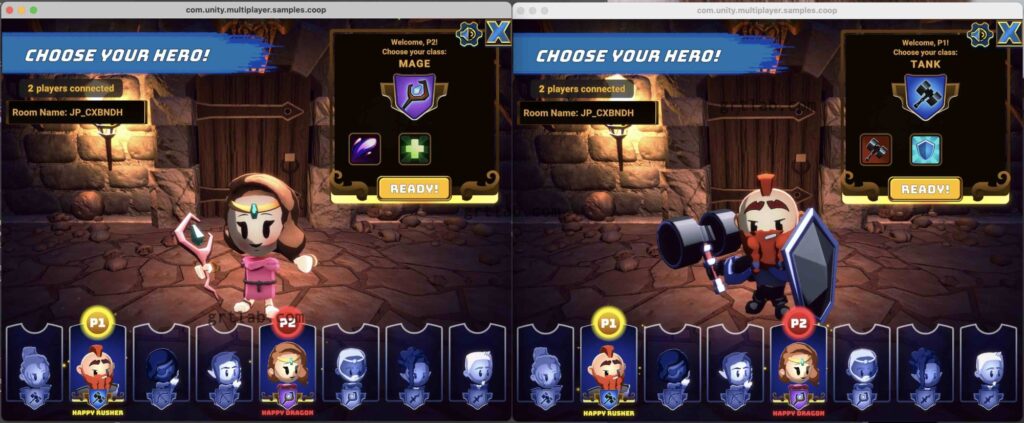
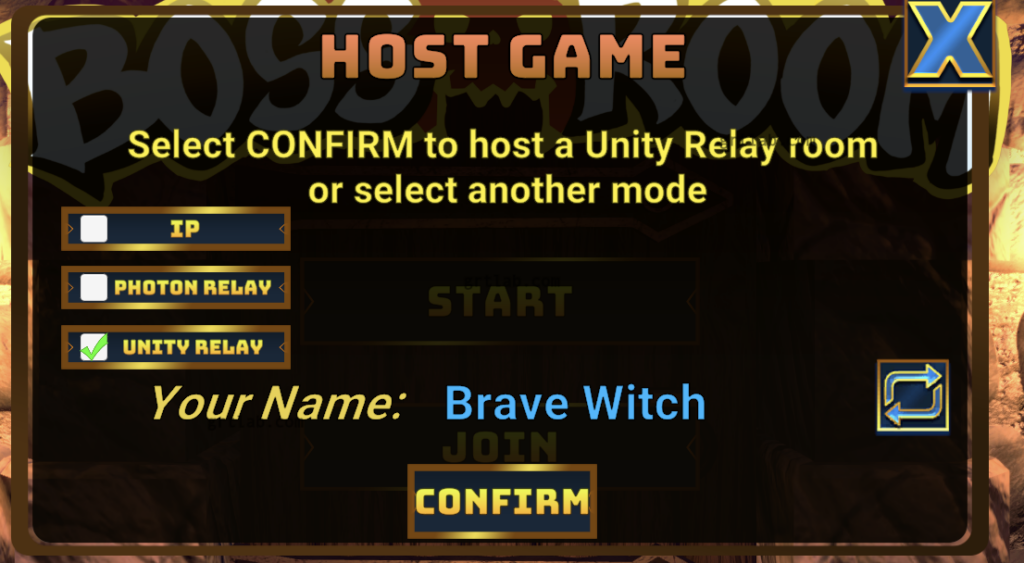
Unity Relay ビルドして実行してみます。
HOST
START > UNITY RELAY > CONFIRM で HOST接続
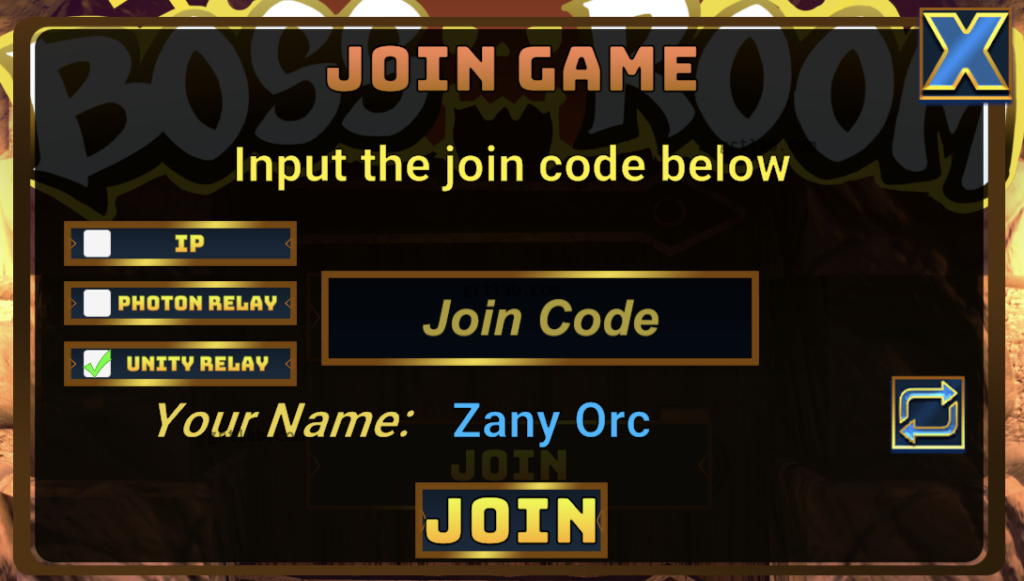
CLIENT
Join > UNITY RELAY > join codeにHOST側のコードを入れてJOIN
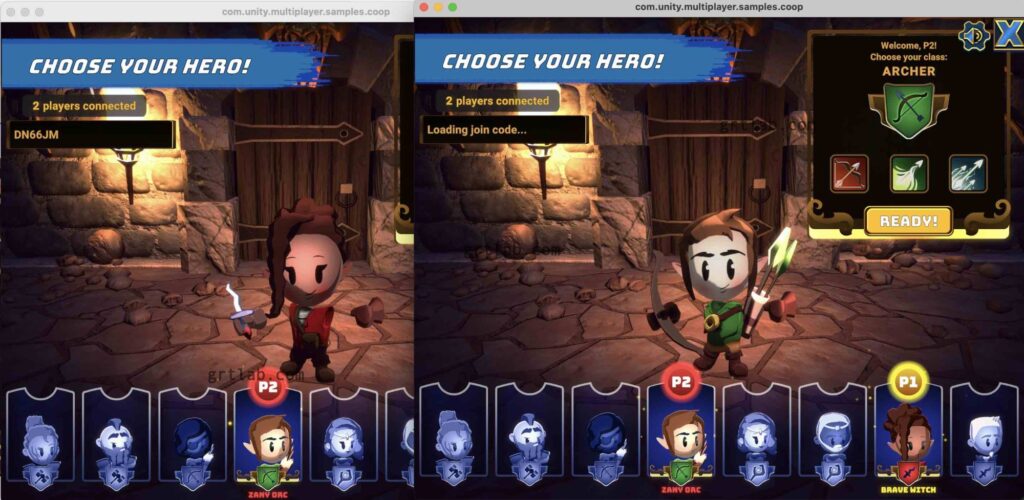
2 players connected になりました!
次はロビーのサンプルもやらないとですかね・・・HOST作ってみんな待っていても仕方ないので順番に入っていく感じがいいのかな?
コネクションが切れた時の対応も必要ですね
やることは多そうです・・・

コメント