
2022.08 追記 macos12.5 centos8.1で更新
redhad ansible
https://ansible.com
Automation for everyone
2022.08 – centos 8にも入れてみました。
Ansible Install
$ sudo yum install ansible
自分のMacの場合
$ sudo pip3 install ansible
i$ ansible --version
ansible 2.9.2
  config file = None
  configured module search path = ['/Users/junichi/.ansible/plugins/modules', '/usr/share/ansible/plugins/modules']
  ansible python module location = /Library/Python/3.7/site-packages/ansible
  executable location = /usr/local/bin/ansible
  python version = 3.7.3 (default, Sep 18 2019, 14:29:06) [Clang 11.0.0 (clang-1100.0.33.8)]
追記、mac os 12.5
$ ansible --version
ansible [core 2.13.3]
  config file = None
  configured module search path = ['/Users//.ansible/plugins/modules', '/usr/share/ansible/plugins/modules']
  ansible python module location = /Library/Frameworks/Python.framework/Versions/3.9/lib/python3.9/site-packages/ansible
  ansible collection location = /Users//.ansible/collections:/usr/share/ansible/collections
  executable location = /Library/Frameworks/Python.framework/Versions/3.9/bin/ansible
  python version = 3.9.10 (v3.9.10:f2f3f53782, Jan 13 2022, 16:55:46) [Clang 13.0.0 (clang-1300.0.29.30)]
  jinja version = 3.1.2
  libyaml = True
パスワードハッシュ用に利用する crypt.crypt が使えないらしく
$ sudo pip install passlib
ユーザー作成
# ansible-galaxy init useradd
こんな感じに、id_key.pub は、そのユーザー用に設定する公開鍵です。
$ tree useradd/
useradd/
├── README.md
├── defaults
│   └── main.yml
├── files
│   └── id_key.pub
├── handlers
│   └── main.yml
├── meta
│   └── main.yml
├── tasks
│   └── main.yml
├── templates
├── tests
│   ├── inventory
│   └── test.yml
└── vars
    └── main.yml
実行するタスクを設定
$ vim useradd/tasks/main.yml

---
# tasks file for useradd
- name: Create user
  become: true
  user:
      name: "{{ item.name }}"
      password: "{{ item.password }}"
      groups: "{{ item.groups }}"
      shell: /bin/bash
  with_items:
      - "{{ users }}"
- name: Set authorized key taken from file
  become: true
  authorized_key:
      user: testuser
      state: present
      key: '{{ item }}'
  with_file:
      - files/id_key.pub
ユーザー情報をvarsに設定(ここのパスワードハッシュでcrypt.cryptが必要(前述のpasslib)
$ vim useradd/vars/main.yml

---
# vars file for useradd
users:
    name: 'testuser'
    uid: '1001'
    groups: 'users,wheel'
    password: "{{ 'パスワード'|password_hash('sha512') }}"
実行ファイル
$ vim init_useradd.yml
---
- hosts: all
  roles:
    - useradd
SSH key認証で接続
$ vim inventory

[target]
255.255.255.255 ansible_connection=ssh ansible_user=centos ansible_ssh_private_key_file=/Users/test/.ssh/id_key
構文確認
$  ansible-playbook -i inventory init_user.yml --syntax-check

playbook: init_user.yml
実行
$  ansible-playbook -i inventory init_user.yml

PLAY [all] *********************************************************************************************************************************************************************************************

TASK [Gathering Facts] *********************************************************************************************************************************************************************************
ok: [255.255.255.1]

TASK [useradd : Create user] ***************************************************************************************************************************************************************************
changed: [255.255.255.1] => (item={'name': 'testuser', 'uid': '1001', 'groups': 'users,wheel', 'password': 'passwordhash'})

TASK [useradd : Set authorized key taken from file] ****************************************************************************************************************************************************
ok: [255.255.255.1] => (item=ssh-rsa ssh pub key strings testuser@localhost)

PLAY RECAP *********************************************************************************************************************************************************************************************
255.255.255.1             : ok=3    changed=1    unreachable=0    failed=0    skipped=0    rescued=0    ignored=0
これで無事、追加したユーザーでログインできました。
SSH ポート変更
22だと頻繁にアタックが来るのでほかのポート例えば22222に変更します。
初期設定のロールのタスクに一緒に追加しています。
tasks/main.yml に以下のタスクを追加
SELinuxの場合は、seport 設定も必要です。
- name: Change SSH Port
  lineinfile:
    dest: "/etc/ssh/sshd_config"
    regexp: "^#Port"
    line: "Port 12222"
  notify: "Restart sshd"

- name: Set alternate port for SSH SELinux
  seport:
    ports: "12222"
    proto: "tcp"
    setype: "ssh_port_t"
    state: "present"
handlers/main.yml に sshd restart を追加
---
# handlers file for basemodules
- name: Restart sshd
  service:
    name: sshd
    state: restarted
ポート変更後に接続確認しておく
inventoryの設定に ansible_ssh_port=12222 を追加しました。
実際には、22用の inventory_22 と 12222用の inventoryを用意しました。
22の方は最初にしか利用しませんが。
$ ansible-playbook -i inventory test_hello.yml

PLAY [all] *********************************************************************************************************************************************************************************************

TASK [Gathering Facts] *********************************************************************************************************************************************************************************
ok: [255.255.255.255]

TASK [helloworld : Hello World!] ***********************************************************************************************************************************************************************
ok: [255.255.255.255] => {
    "msg": "Hello World!"
}

PLAY RECAP *********************************************************************************************************************************************************************************************
255.255.255.255             : ok=2    changed=0    unreachable=0    failed=0    skipped=0    rescued=0    ignored=0
とりあえず、sshの設定まで。次はiptableを。
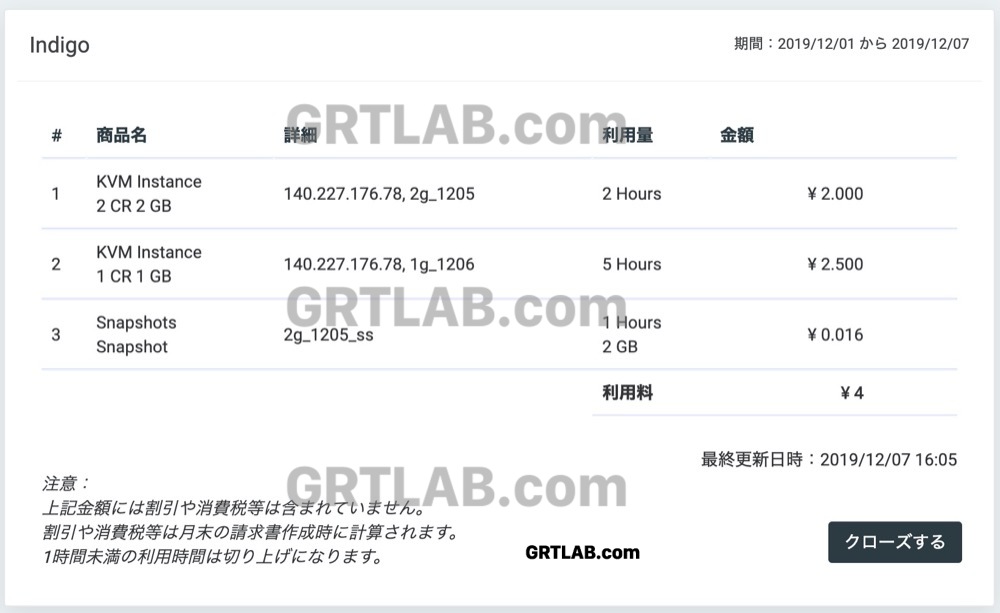
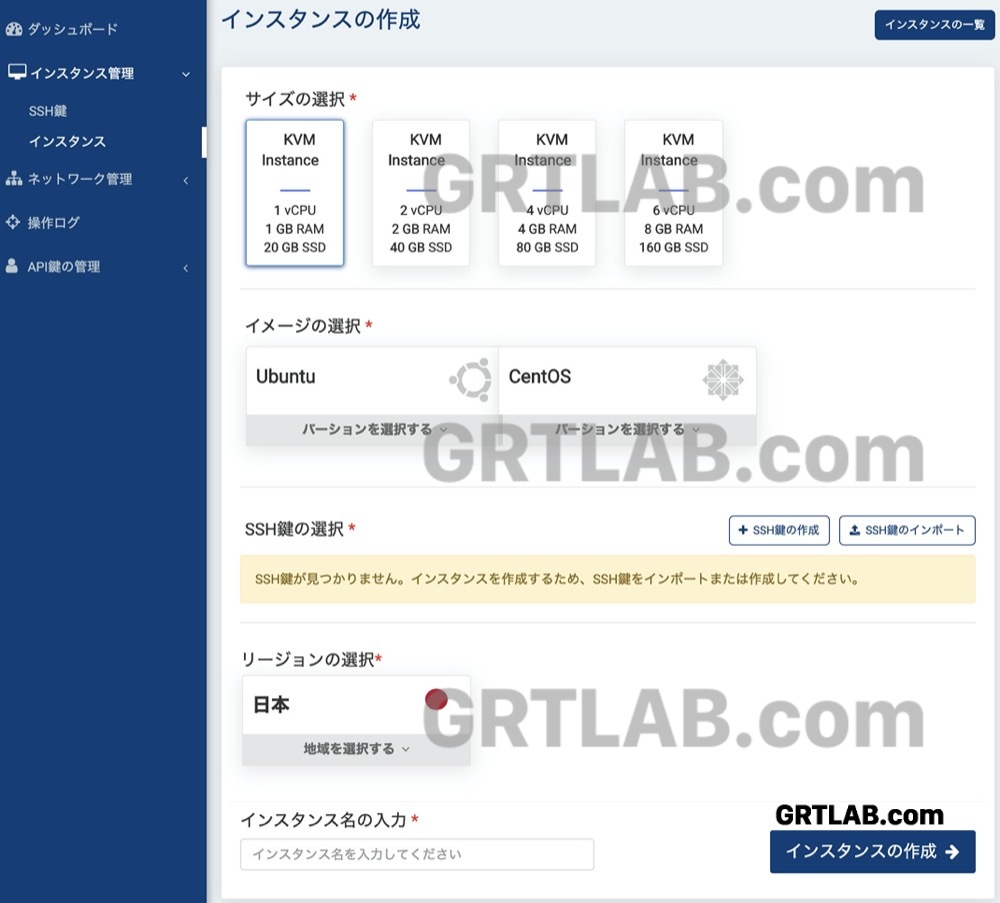
WebARENAのindigo VPSを利用してみているのですが、
今のところ4円です^^
2022.08 追記分 – macOS 12.5 centos8 などなど python3エラーなど
Traceback (most recent call last):
  File "/usr/local/bin/ansible-playbook", line 34, in <module>
    from ansible import context
ModuleNotFoundError: No module named 'ansible'
実行したらこんな感じでした。
mac OS更新したからなんか変わってしまったみたいです。python3がどうのという話らしいです。
Python pyenvを入れる
https://github.com/pyenv/pyenv
pyenvを入れて3を標準にしたら良いみたいです。
brewをアップデートしてから入れろと
 git -C /usr/local/Homebrew/Library/Taps/homebrew/homebrew-core fetch --unshallow
 git -C /usr/local/Homebrew/Library/Taps/homebrew/homebrew-cask fetch --unshallow
微動だにしないけど。。。とりあえず待ちます。待ってたら(放っておいたら)動きました^^;
brew update
brew install pyenv
設定
echo 'export PYENV_ROOT="$HOME/.pyenv"' >> ~/.bash_profile
echo 'command -v pyenv >/dev/null || export PATH="$PYENV_ROOT/bin:$PATH"' >> ~/.bash_profile
echo 'eval "$(pyenv init -)"' >> ~/.bash_profile
$ pyenv --version
pyenv 2.3.3
とりあえず今入っているpython3が3.9.10だったので同じのをpyenvからも入れて使ってみる。
$ pyenv install 3.9.10
$ pyenv global 3.9.10
大丈夫そうです。
$ python --version
Python 3.9.10
Cent OS 8.1 初期設定
まとめてやっているのですが
yum update でエラー {“changed”: false, “msg”: “Failed to download metadata for repo ‘AppStream'”, “rc”: 1, “results”: []}
cent os 8はサポート切れだそうで streamというのがあるようですね・・・
最新にしてみましょう。。。
cent os stream9とやらを入れてみます。
もう別の記事へ


コメント