
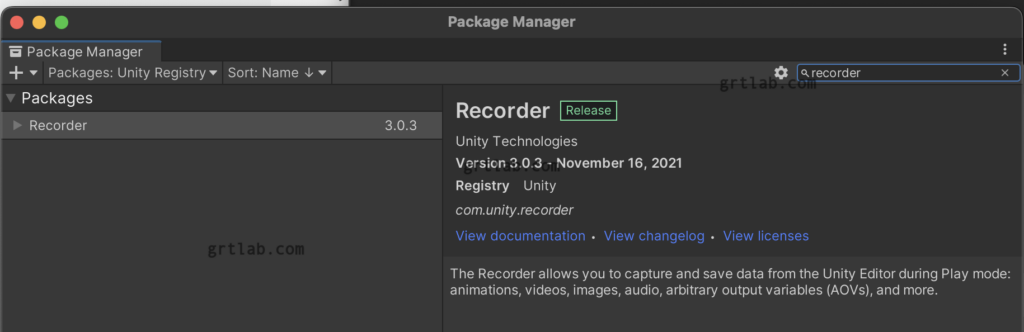
Recorderをインストール
iOSのスクリーンショットを色々作るのに面倒なのでeditor上で
Window > Package Manager > Recoder ( unity )

About Recorder | Recorder | 3.0.4
docs.unity3d.com
動画も保存できるのでサンプルムービー素材も作れますね^^
スクリーンショットを撮る
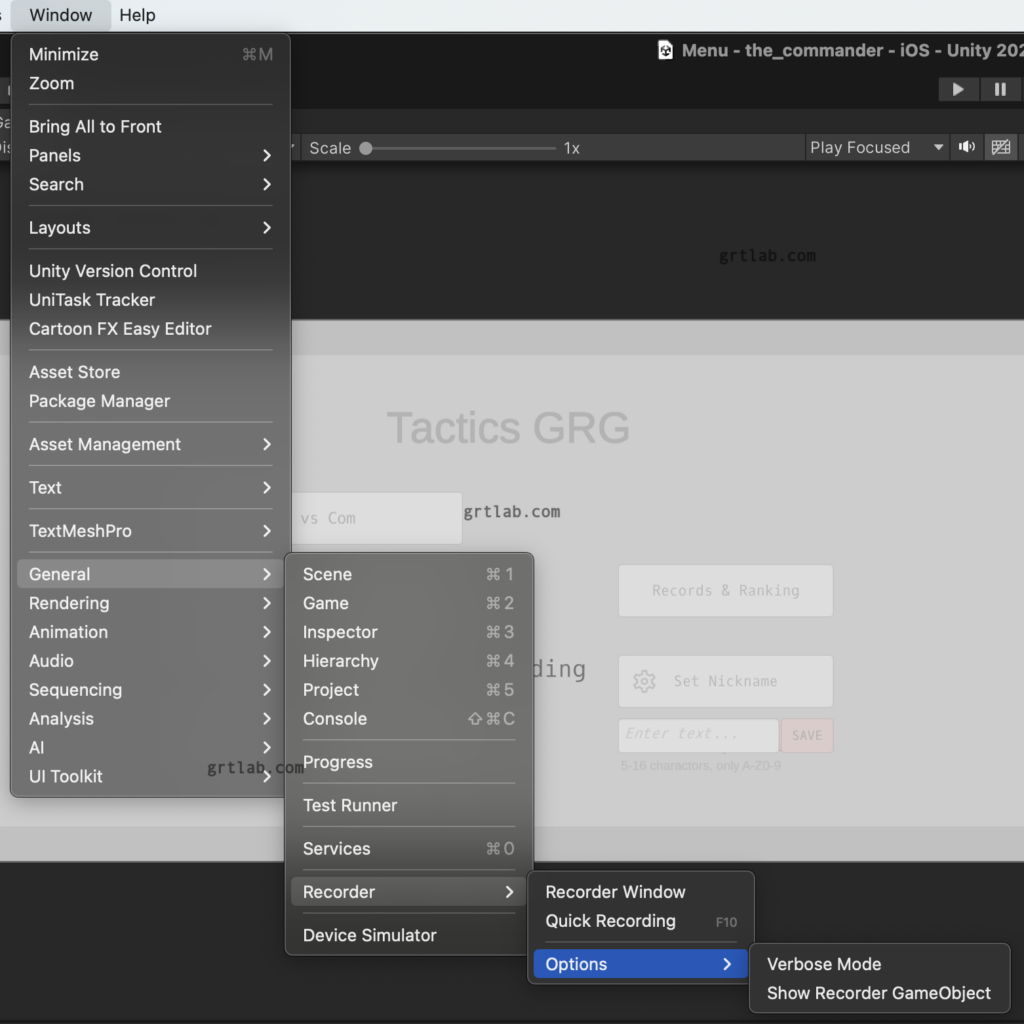
Window > General > Recorder > Recorder Window を開きます。
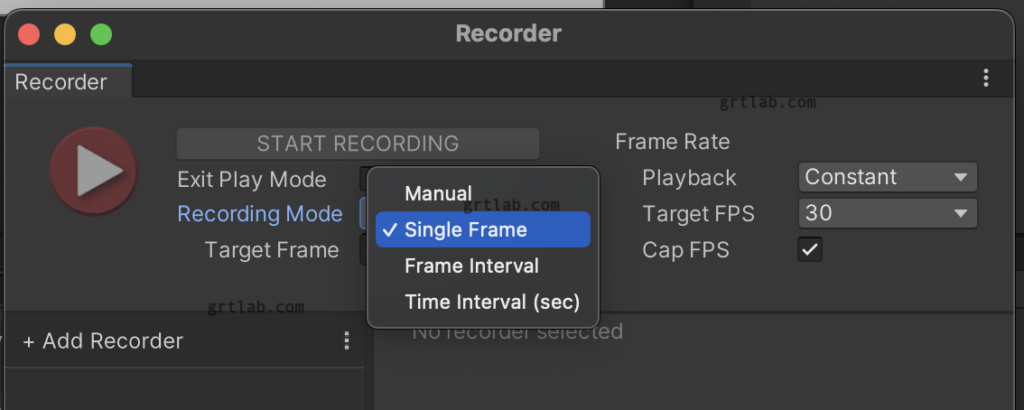
Recording Mode : Single Frameにします。(スクリーンショット一枚撮るだけなので
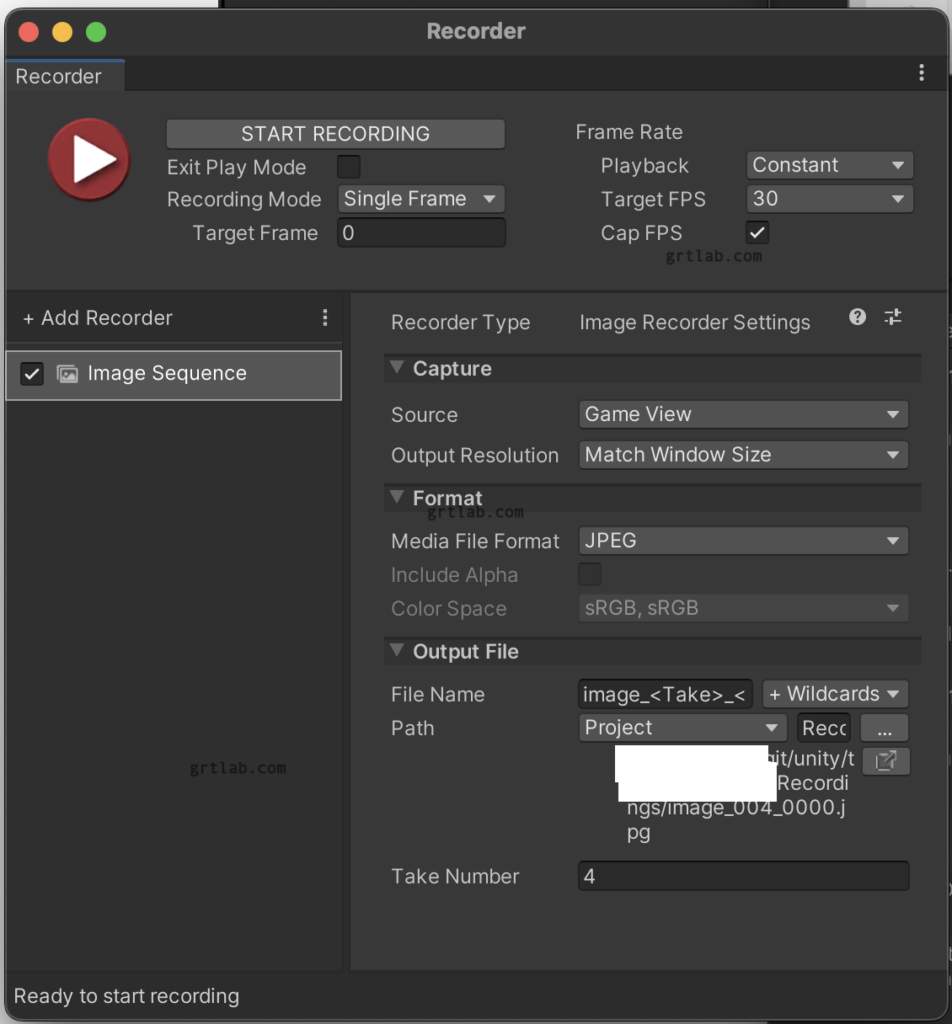
左下の枠 Add Recorderで Image Sequence を選択します。
Unity Editorでゲームを実行中に 再生ボタン START RECORDING を押すと1枚画像が保存されます!
保存場所は右下の Path のところです。連番で保存してくれるので良いですね^^
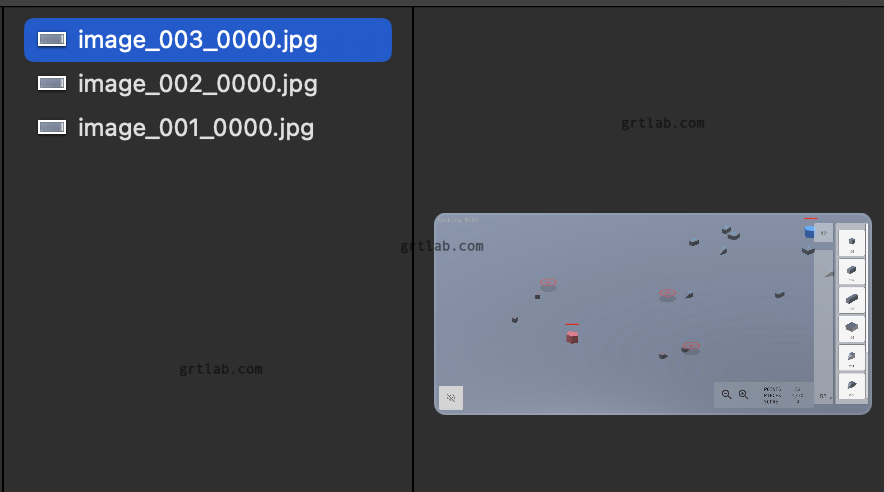
簡単に iPhoneの複数サイズのスクリーンショットが作れそうです。
iOS用 app プレビュー動画を録画
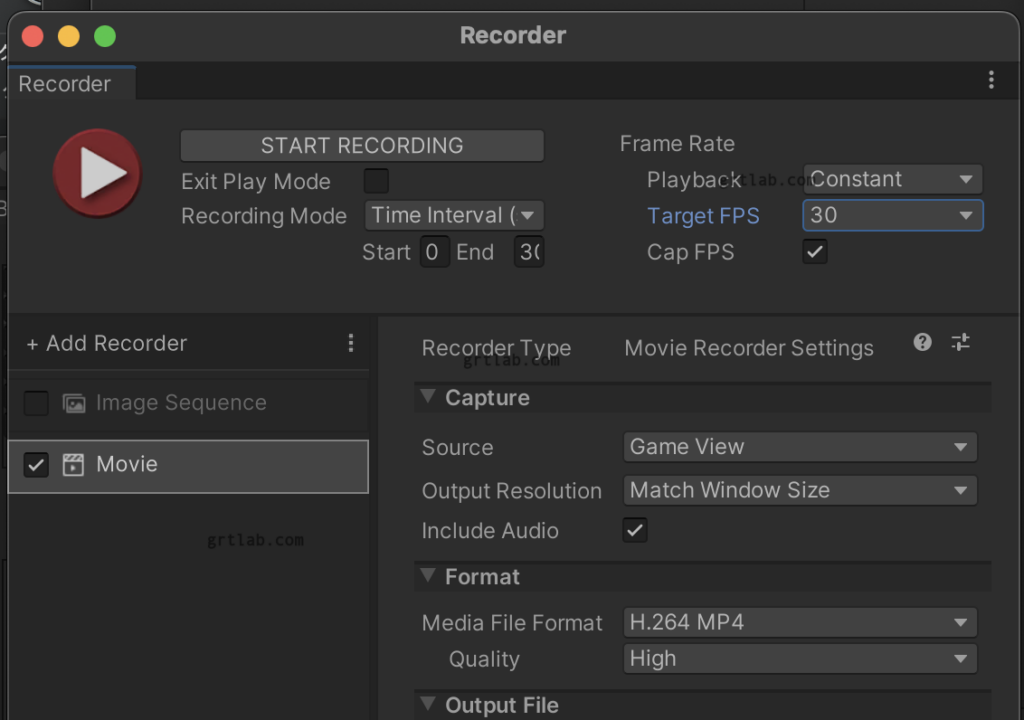
Recorder に Add Recorderで Movieを作成
とりあえず30秒録画
Recording Mode Time Interval 0 – 30
Target FPS 30
で録画する
iOS スクリーンショットの仕様
https://developer.apple.com/jp/help/app-store-connect/reference/screenshot-specifications/
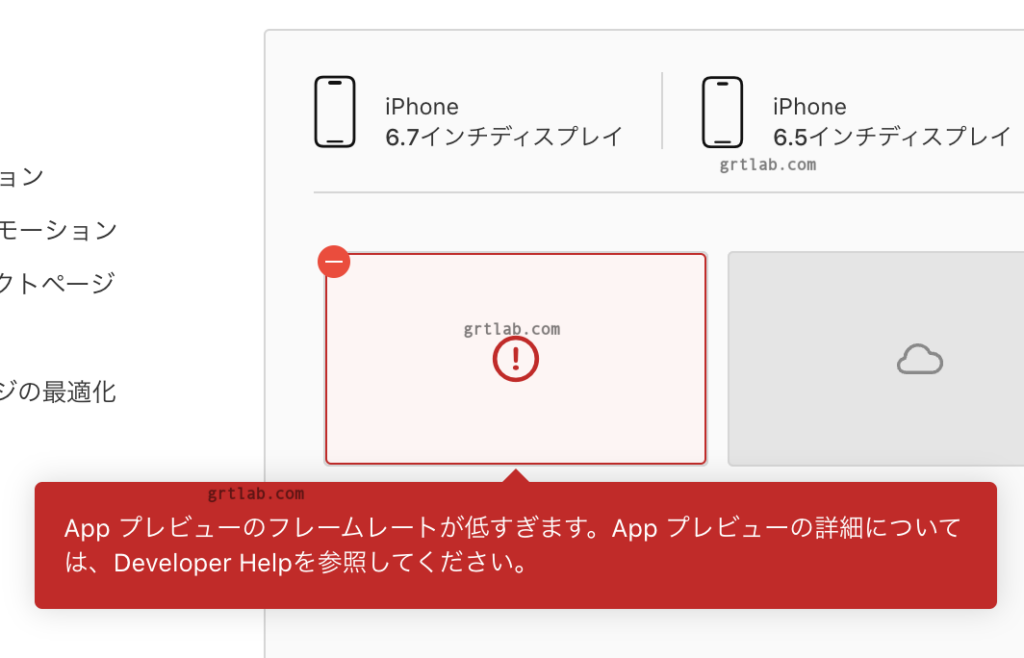
iOS App プレビューの仕様
https://developer.apple.com/jp/help/app-store-connect/reference/app-preview-specifications/
フレームレート 30
15-30秒
サイズ 500MB
と書いてあります。

コメント